Introduction
Following the construction of the Meshtastic node, the next step is designing a custom case integrated with a graphene phone — enabling secure, encrypted communication without relying on telecom towers. Focus: privacy and operational security in environments where traditional networks are unavailable or compromised.
This started with a 3D model by ElevatedisScout that I found on MakerWorld. I made one, enjoyed the design, and wanted to expand on it.
Expectation management: I’m a hobbyist, not a professional 3D designer or electrical engineer. This is part of broadening skill sets.
Problem Statement
Current communication systems face vulnerabilities from EMI exposure and security weaknesses in standard protocols. Goal: develop a solution that minimizes EMI through optimized hardware and shielding while ensuring secure, encrypted communications — even in harsh or high-threat environments.
Solution
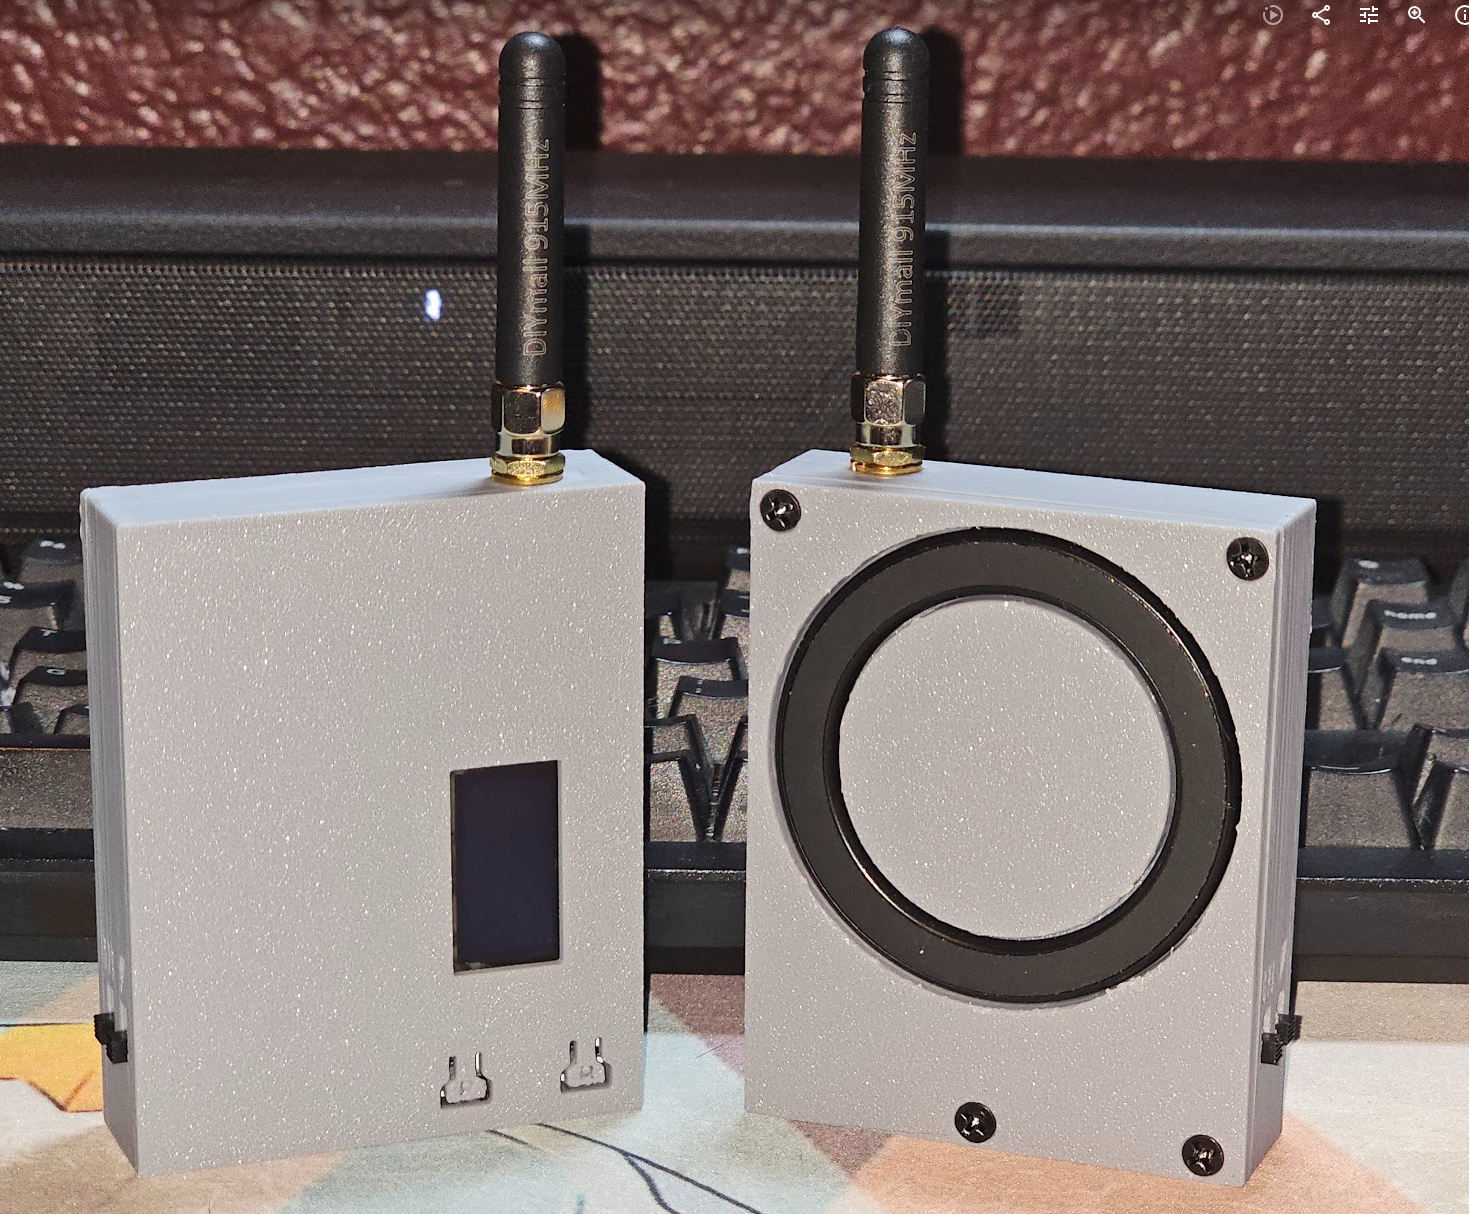
A Meshtastic device integrated with a graphene phone, offering power and data via a single cable. Powered by an onboard 1000mAh battery as backup. All non-essential comms disabled — only the radio active. Independent controls for power and GPS for high-threat environments.
Hardware
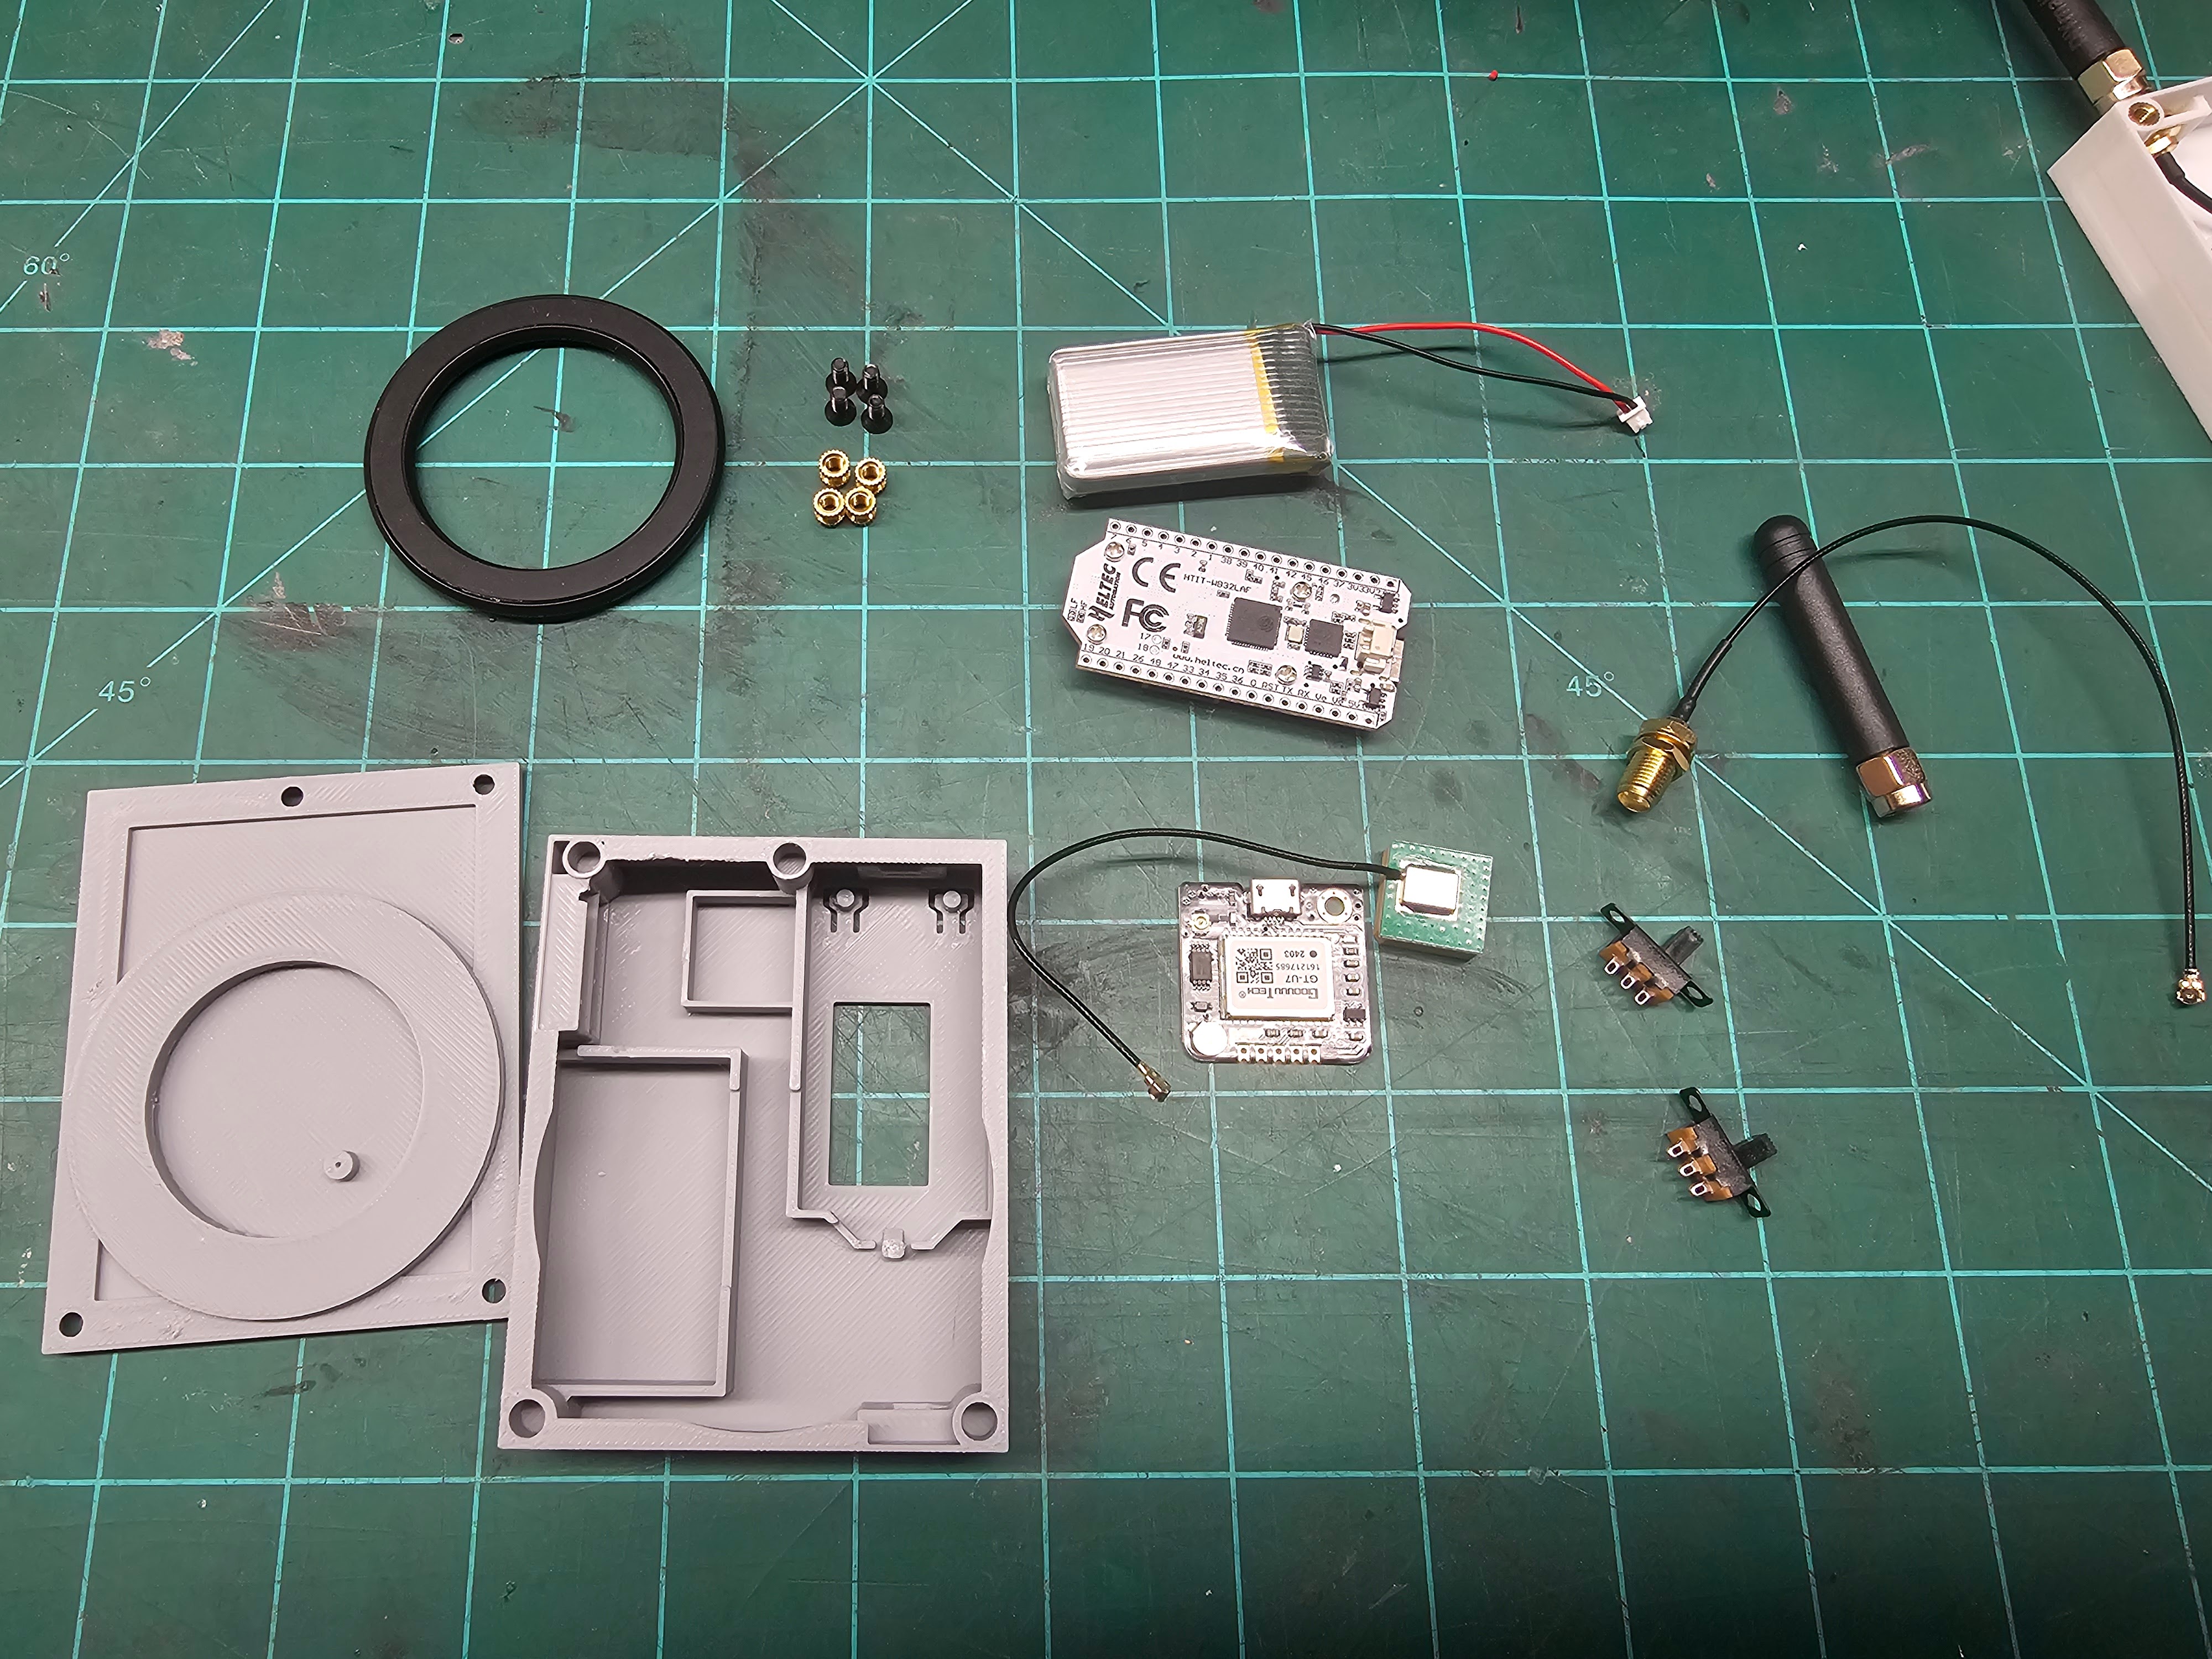
Amazon affiliate links below. I purchased enough for four complete modules.


Case Design
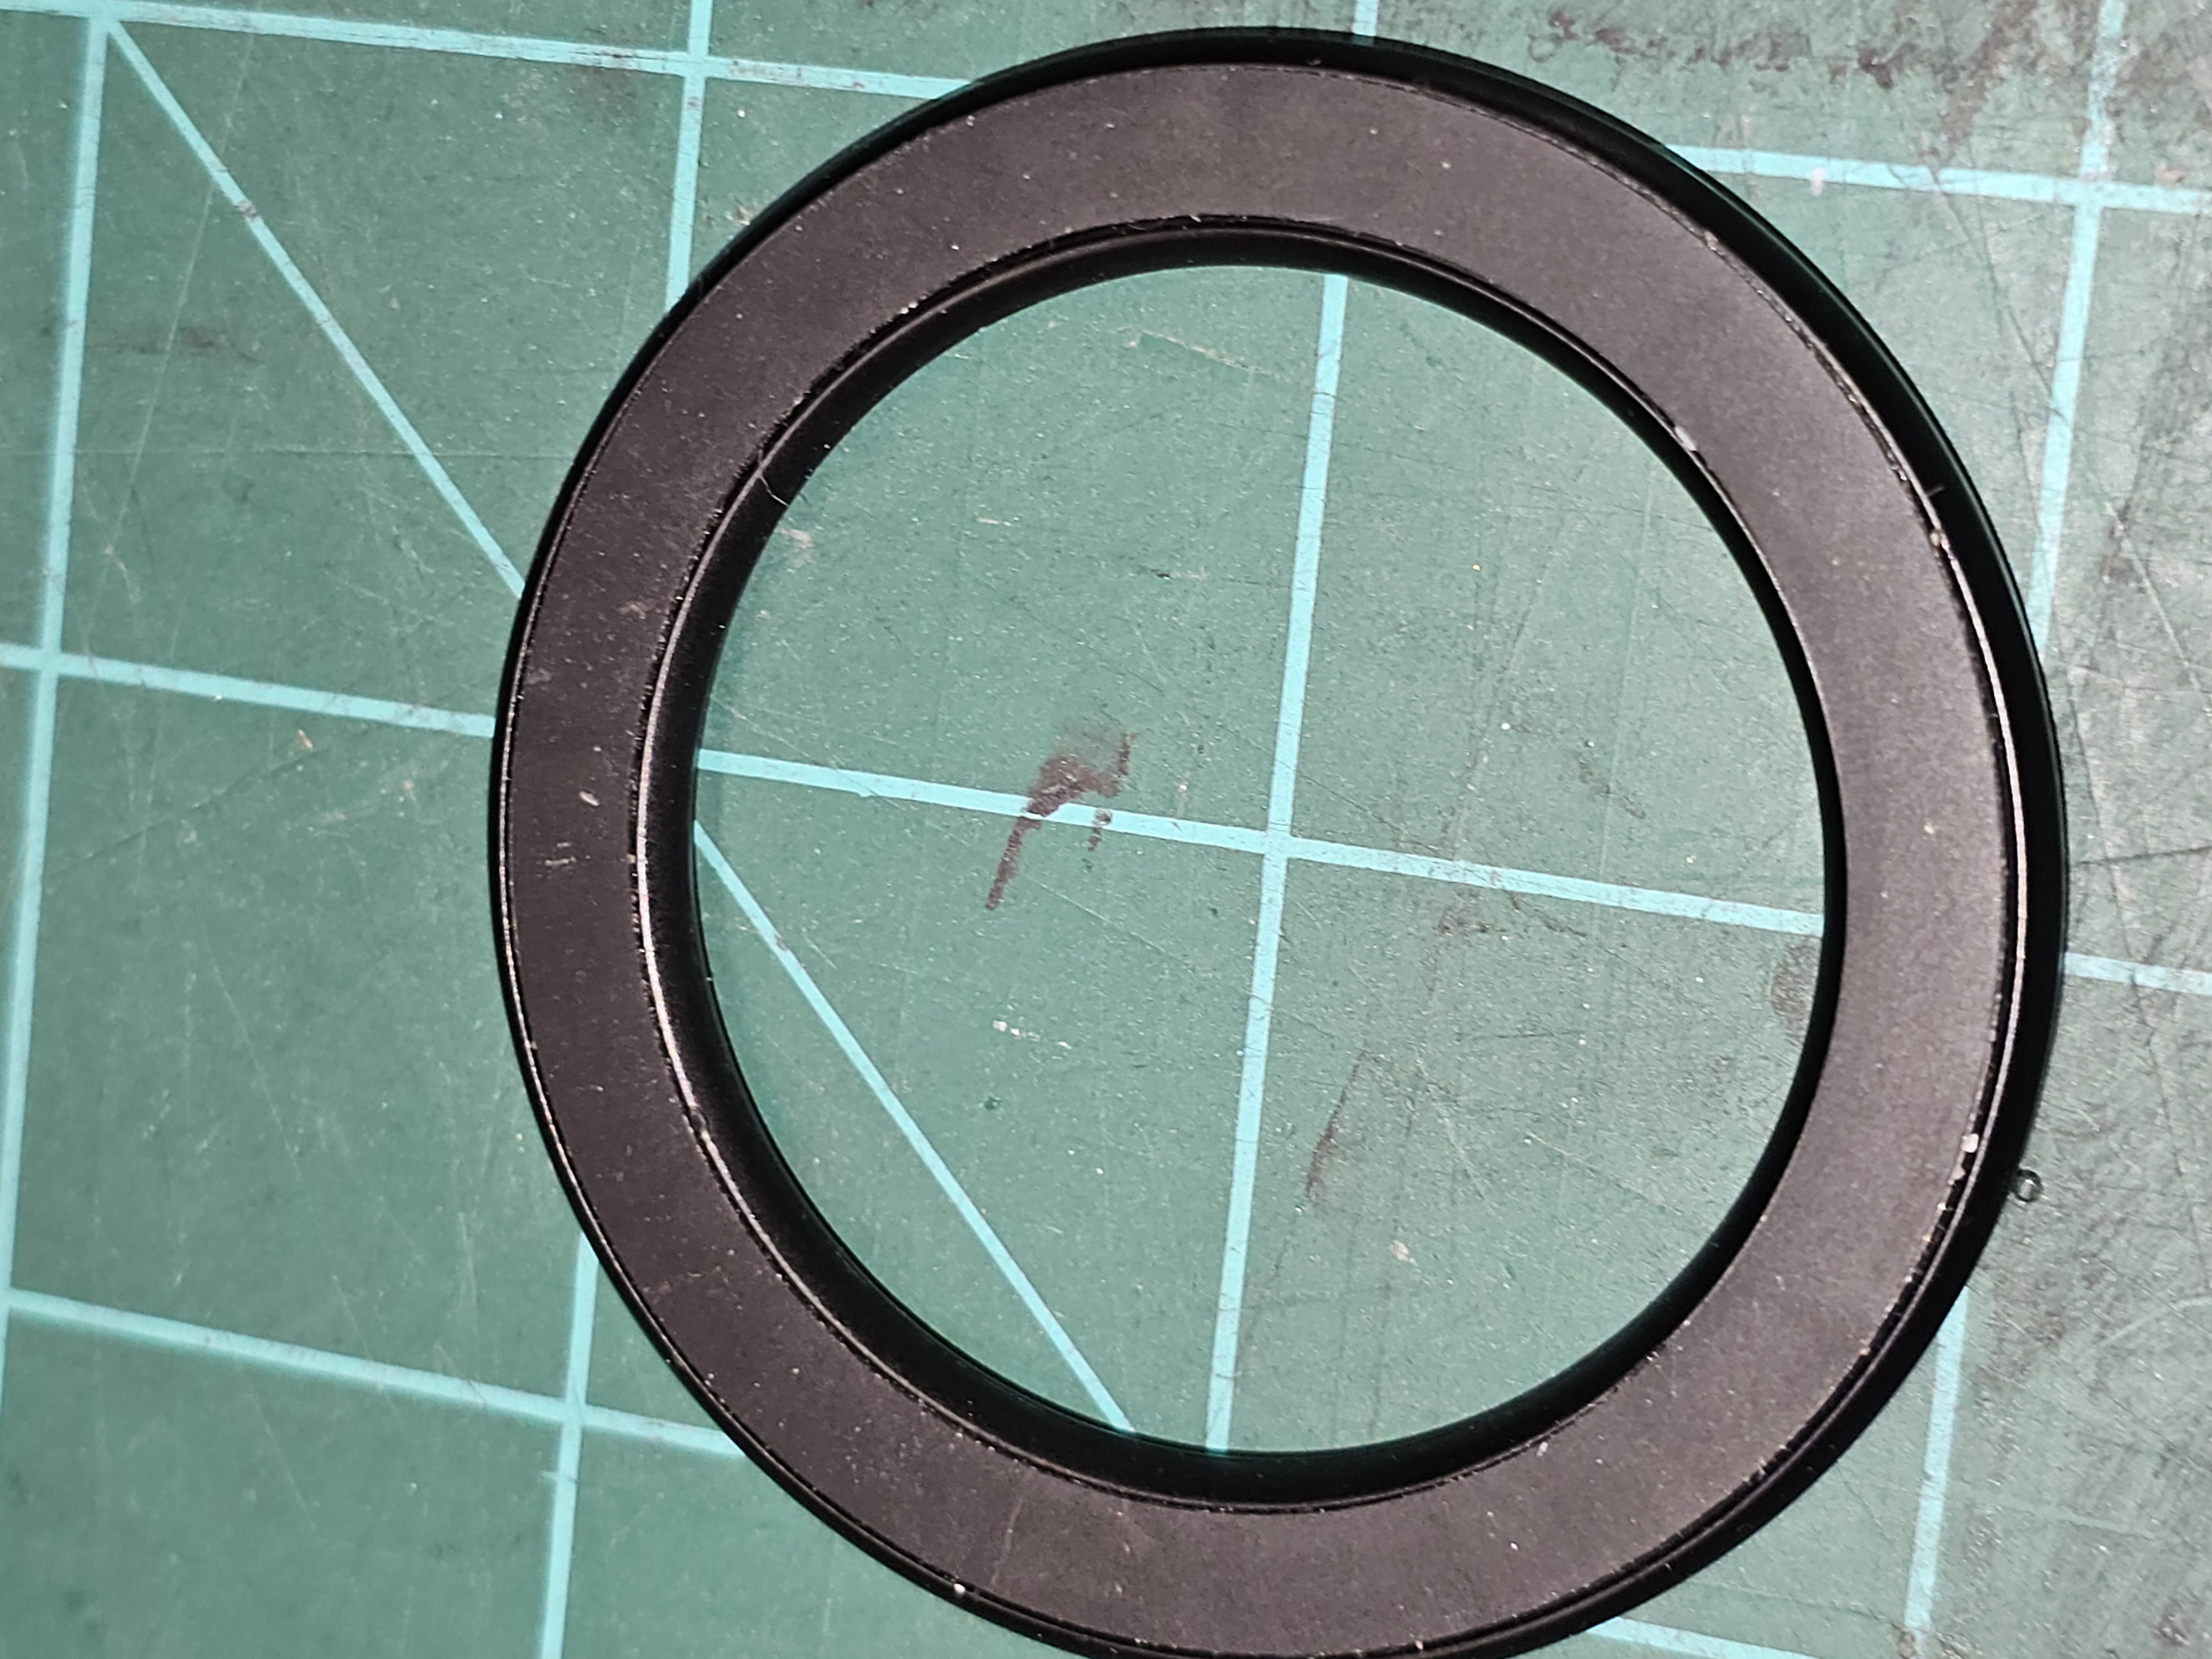
Inspired by ElevatedisScout’s MagSafe integration, I replaced the ring with a full magnet system. This improves connection strength and enables attachment to vehicles, drones, or any surface — useful for ad-hoc nodes in difficult terrain.
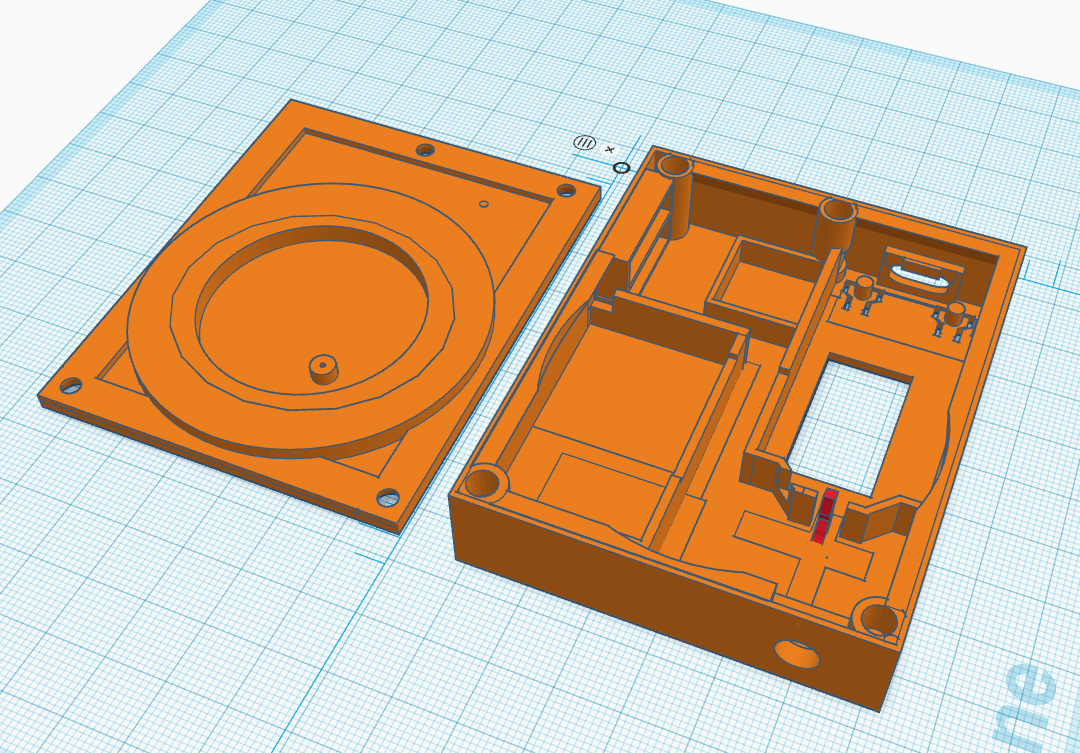
I used Tinkercad for the 3D design. Nothing fancy, but effective.
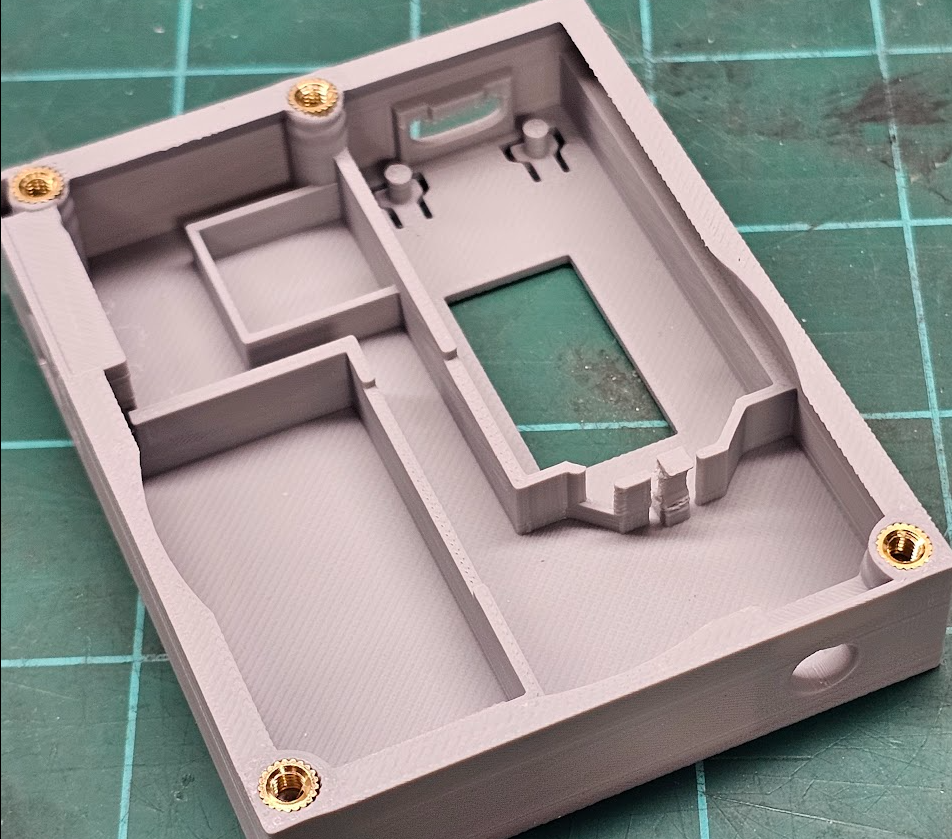
Design Notes
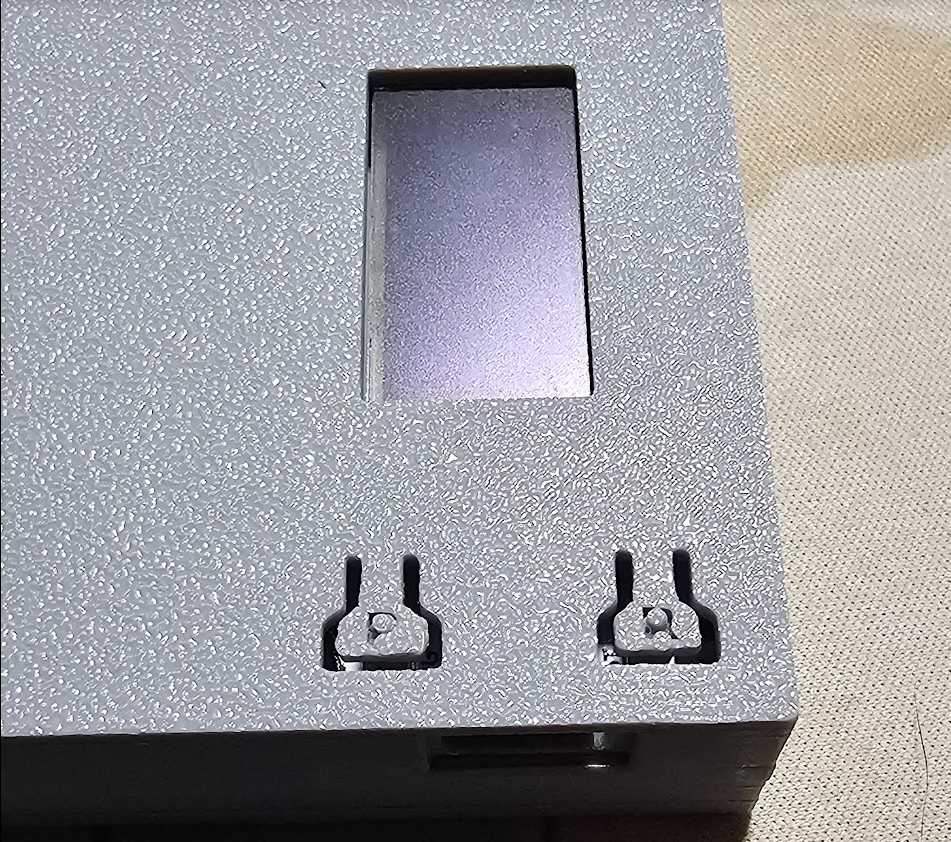
- Heltec slot is a snug fit with a locking clip and slotted buttons (fewer moving parts)
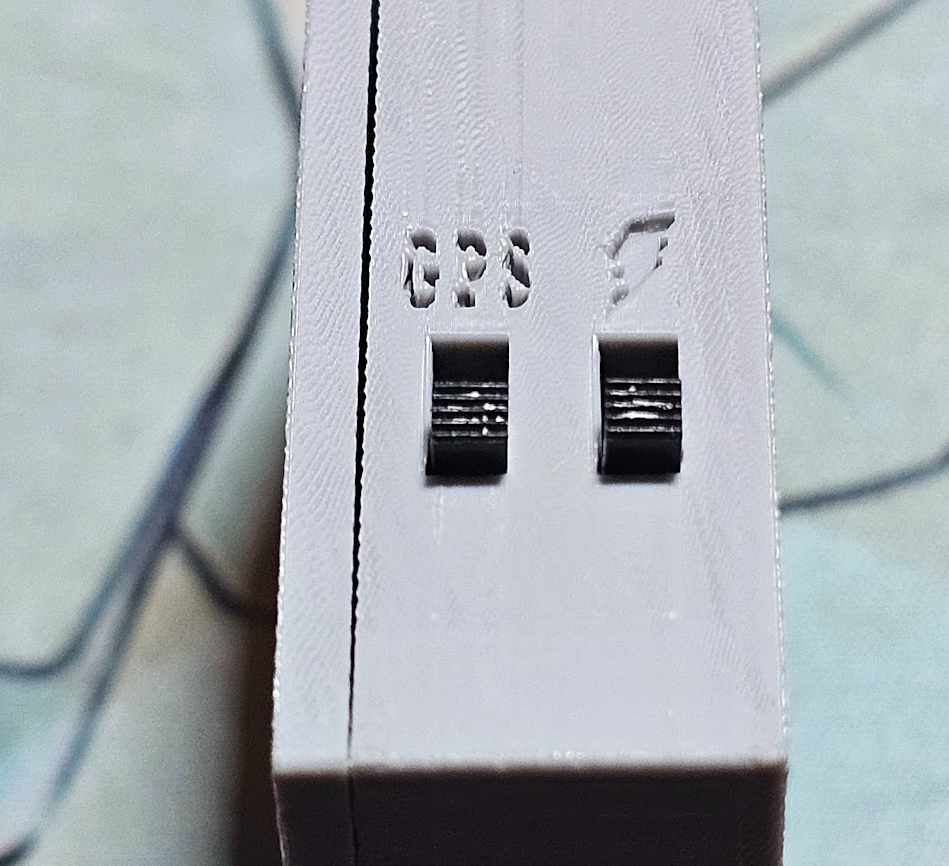
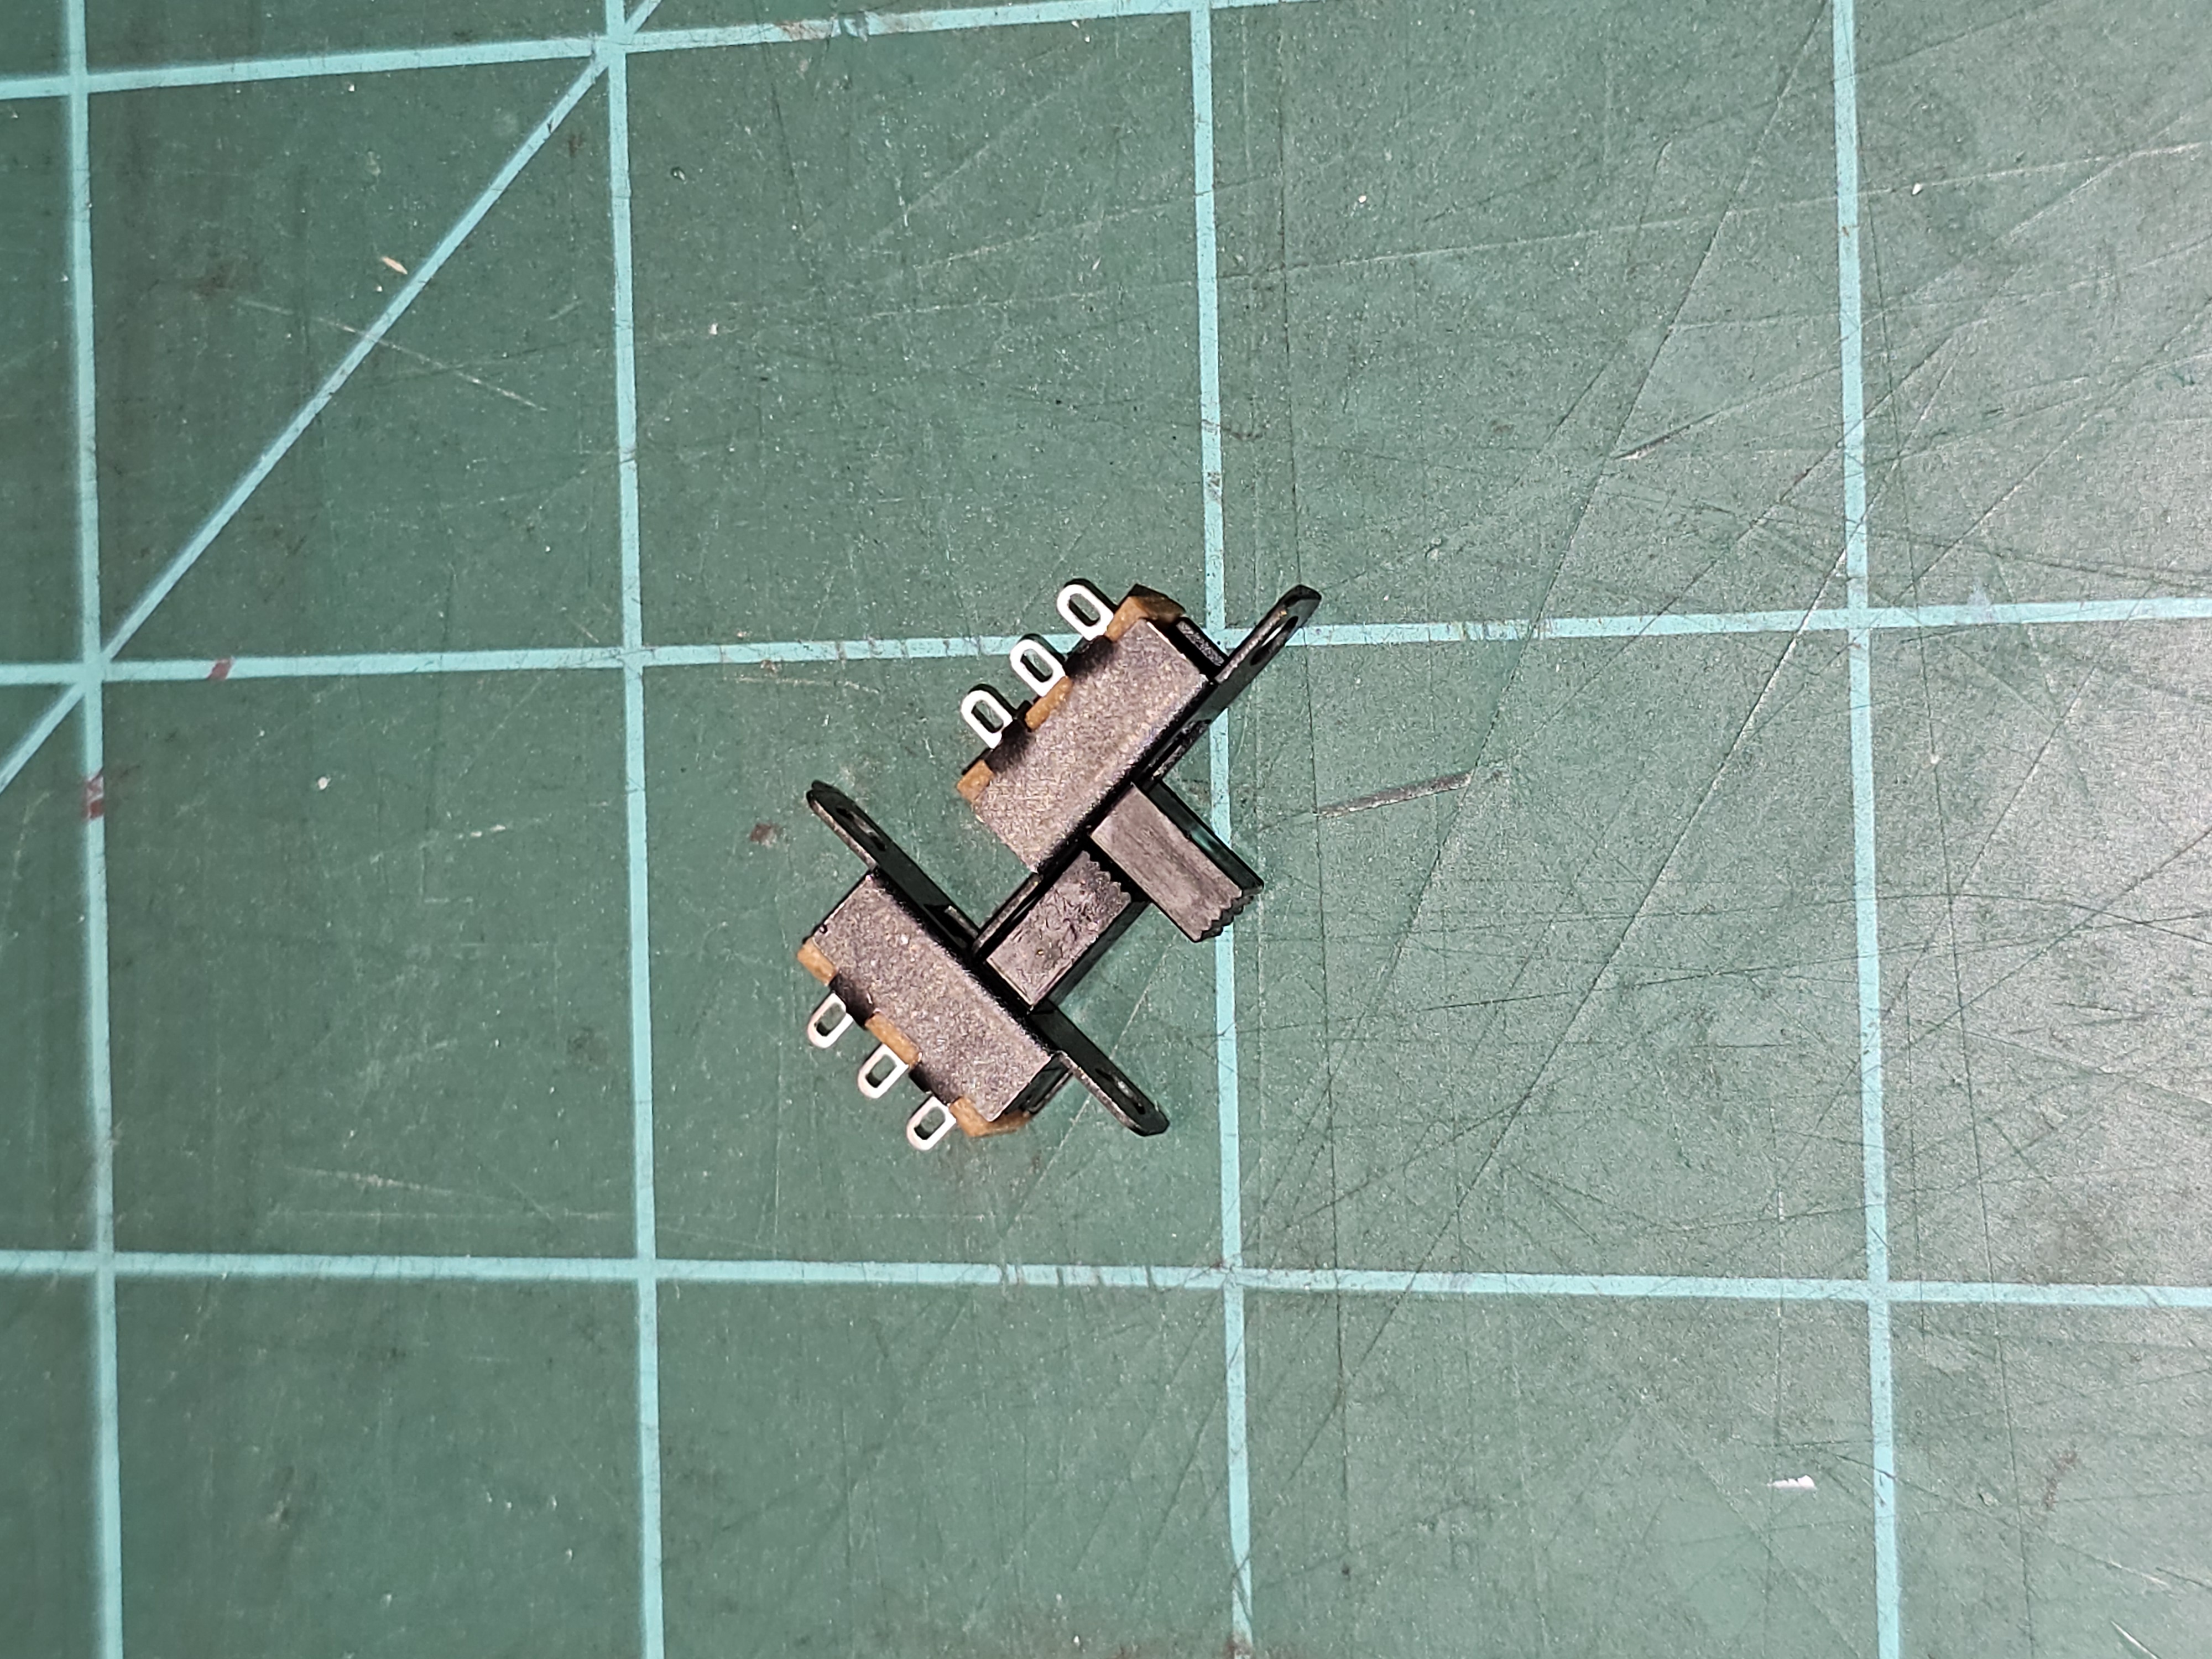
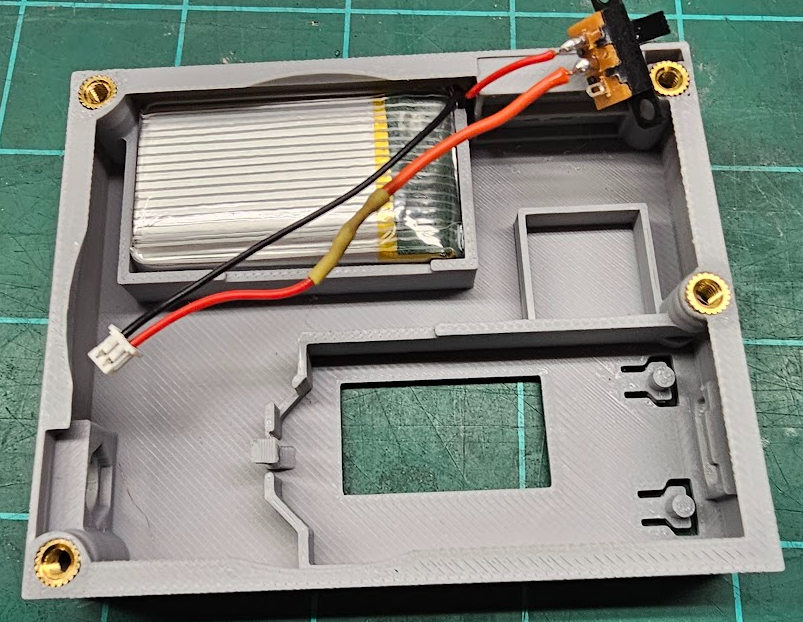
- Battery slot has a channel for routing wires near the switch blocks; switches have recessed mounting holes
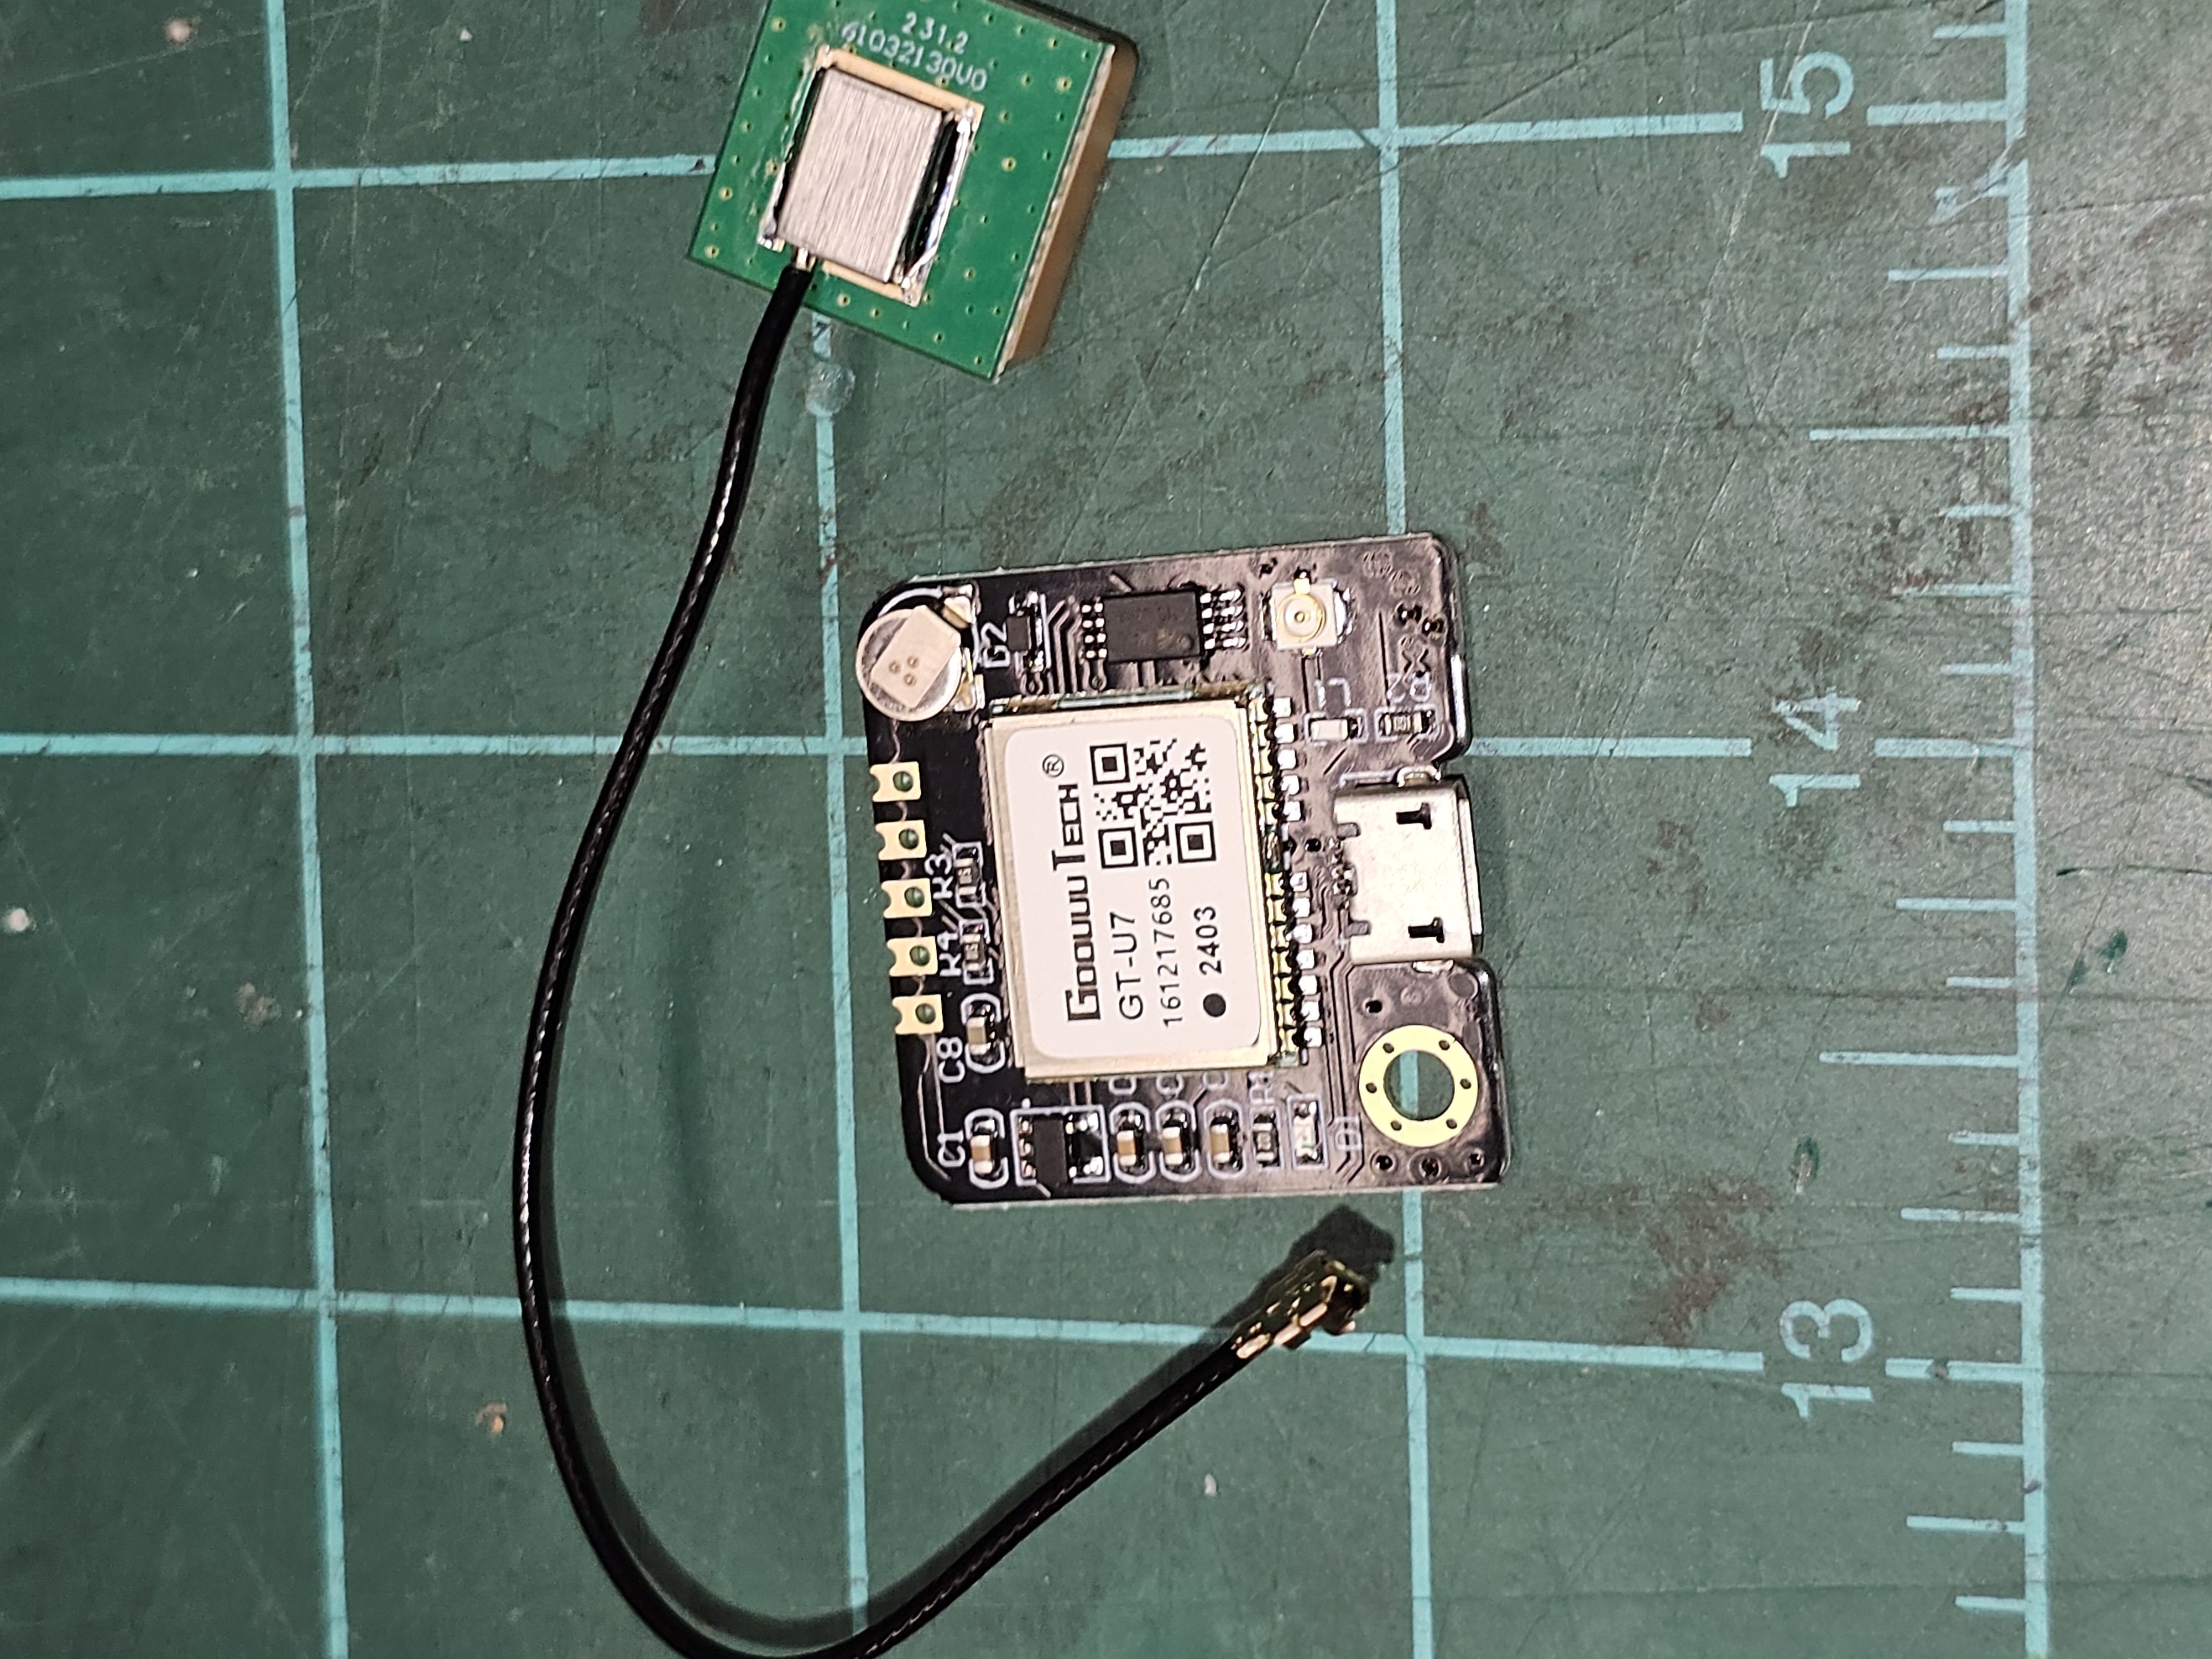
- GPS antenna slot holds the antenna without a lock — hot glued in place
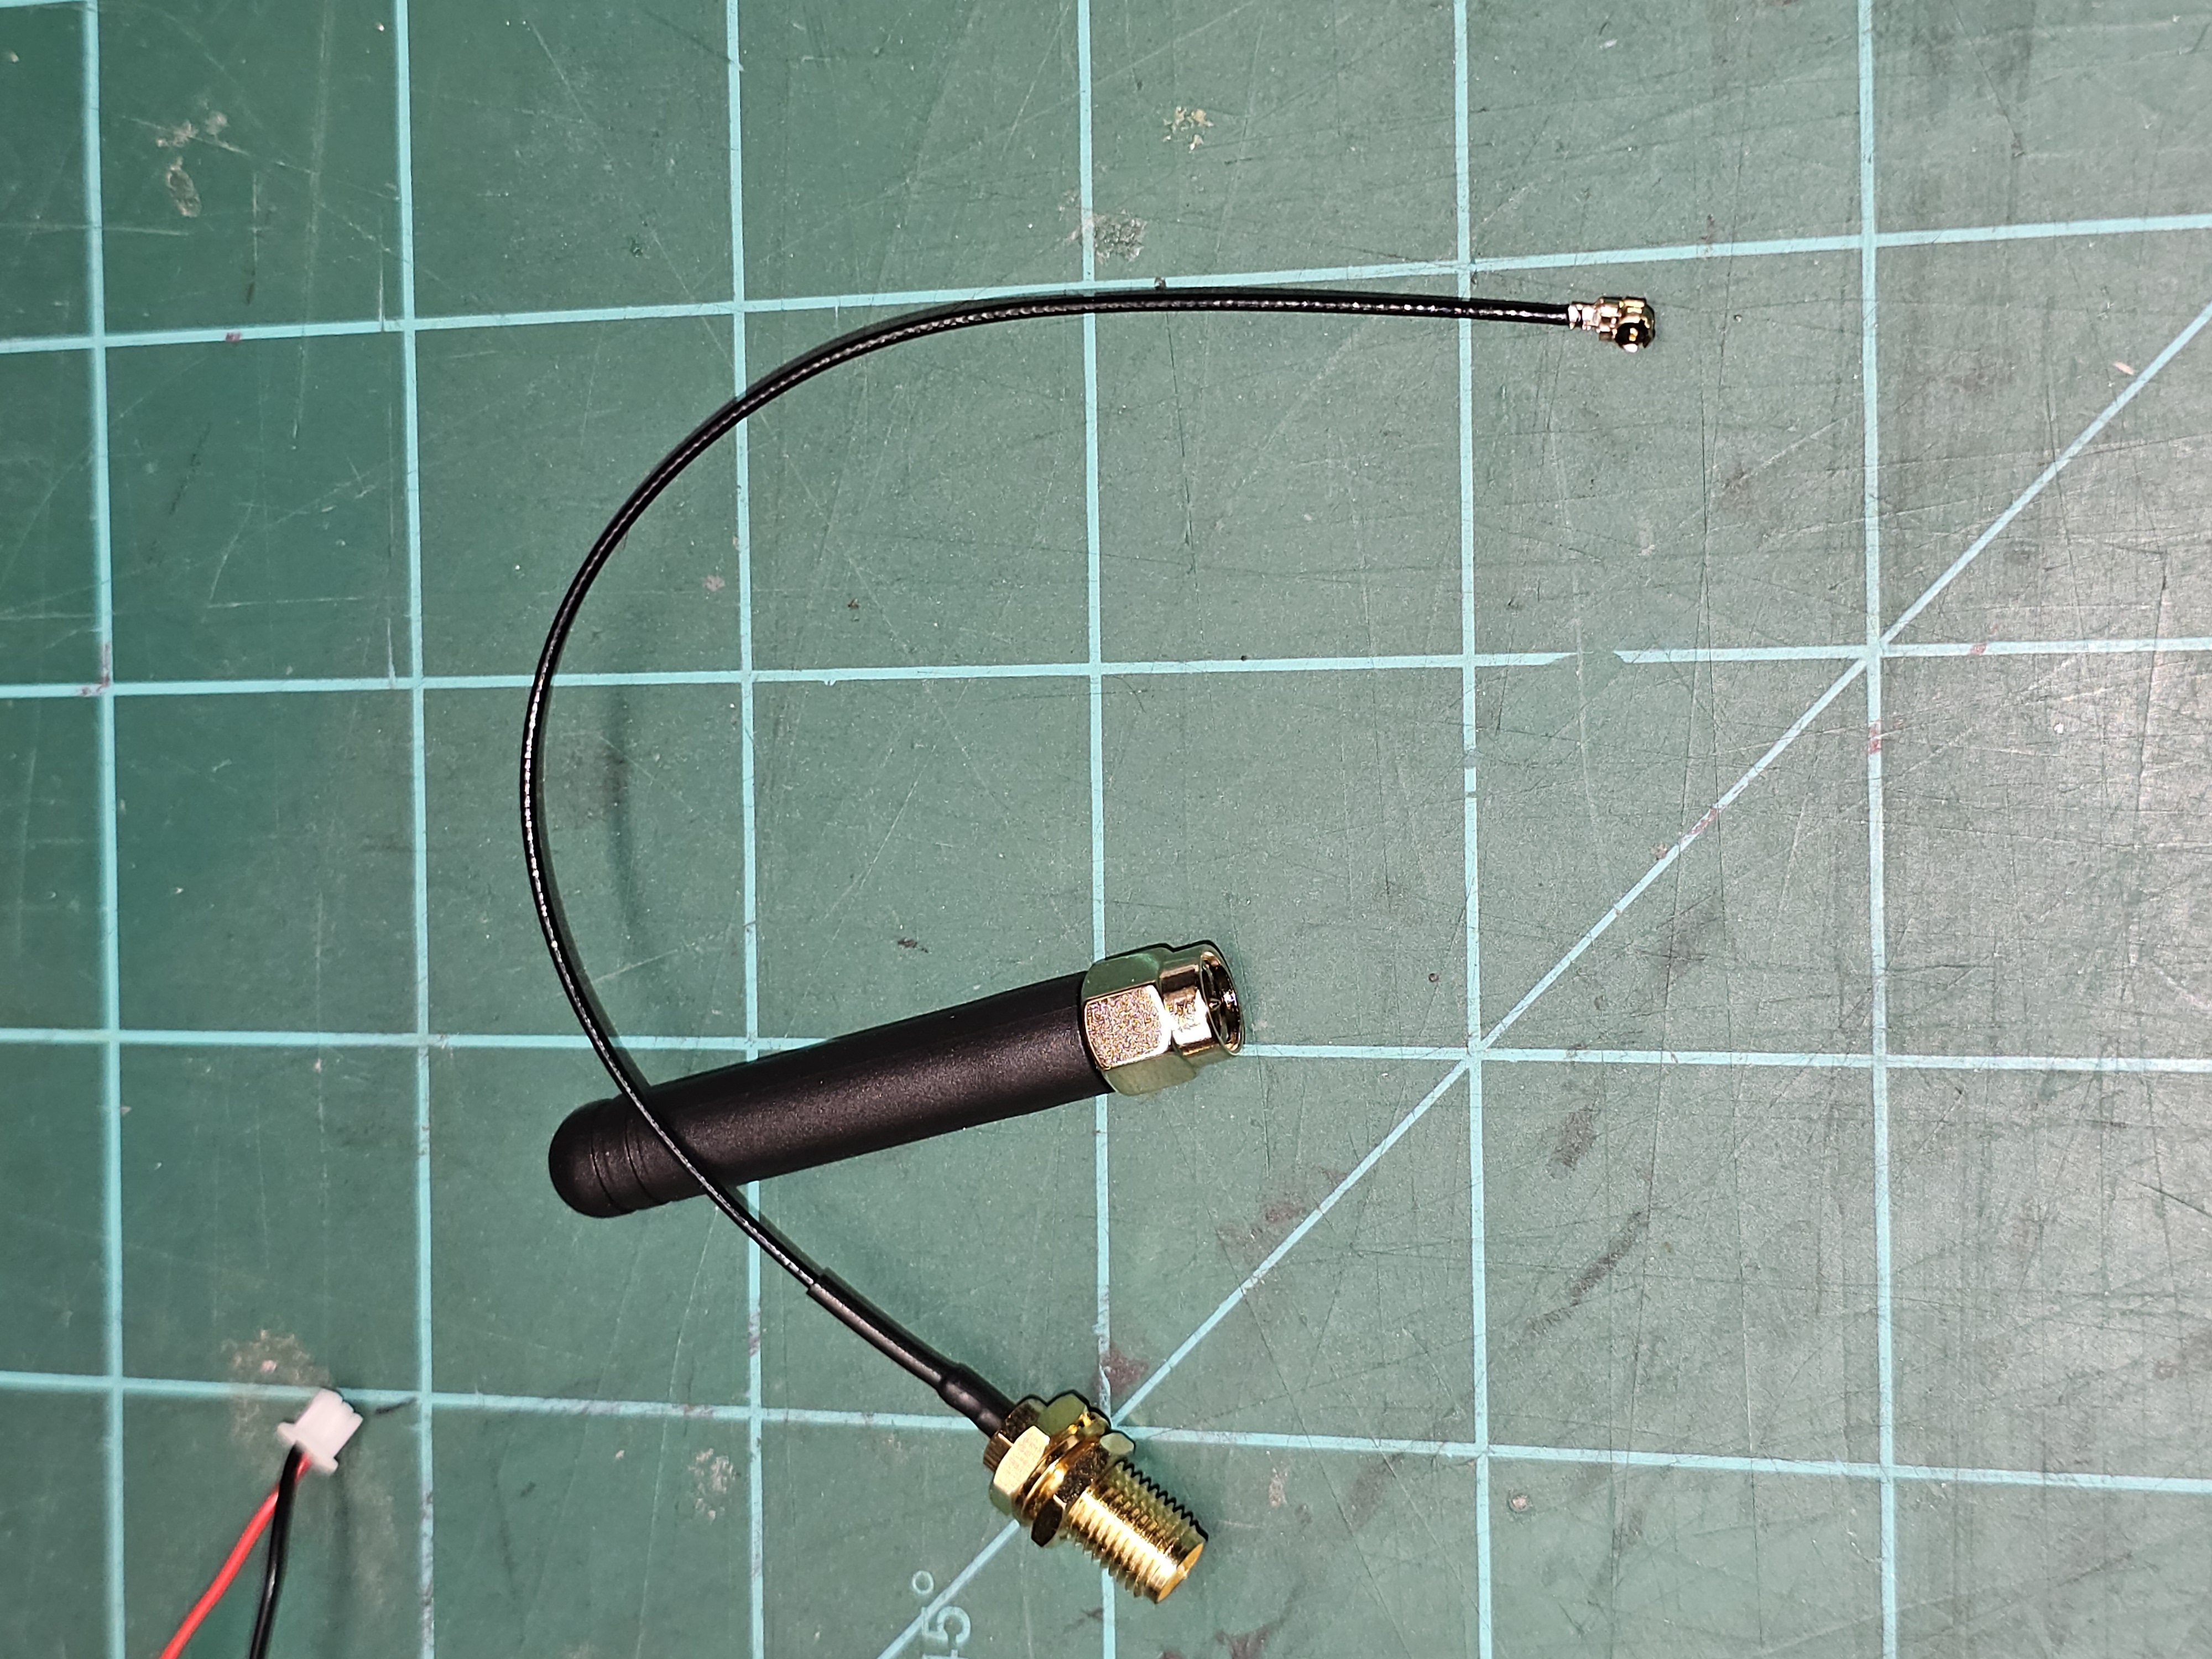
- SMA pigtail held by the nut/lock washer on exterior, recessed to keep the antenna close to the case
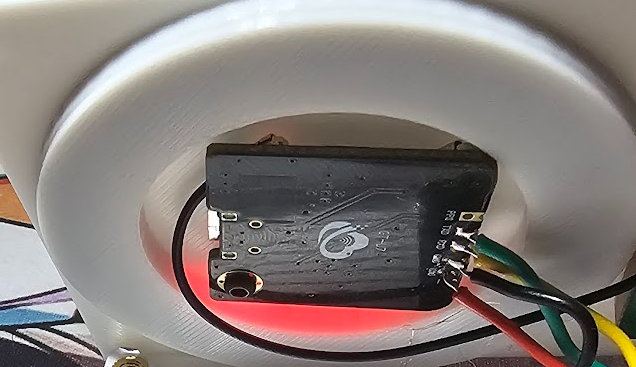
- GPS module mounted inside on a set screw inside the magnet
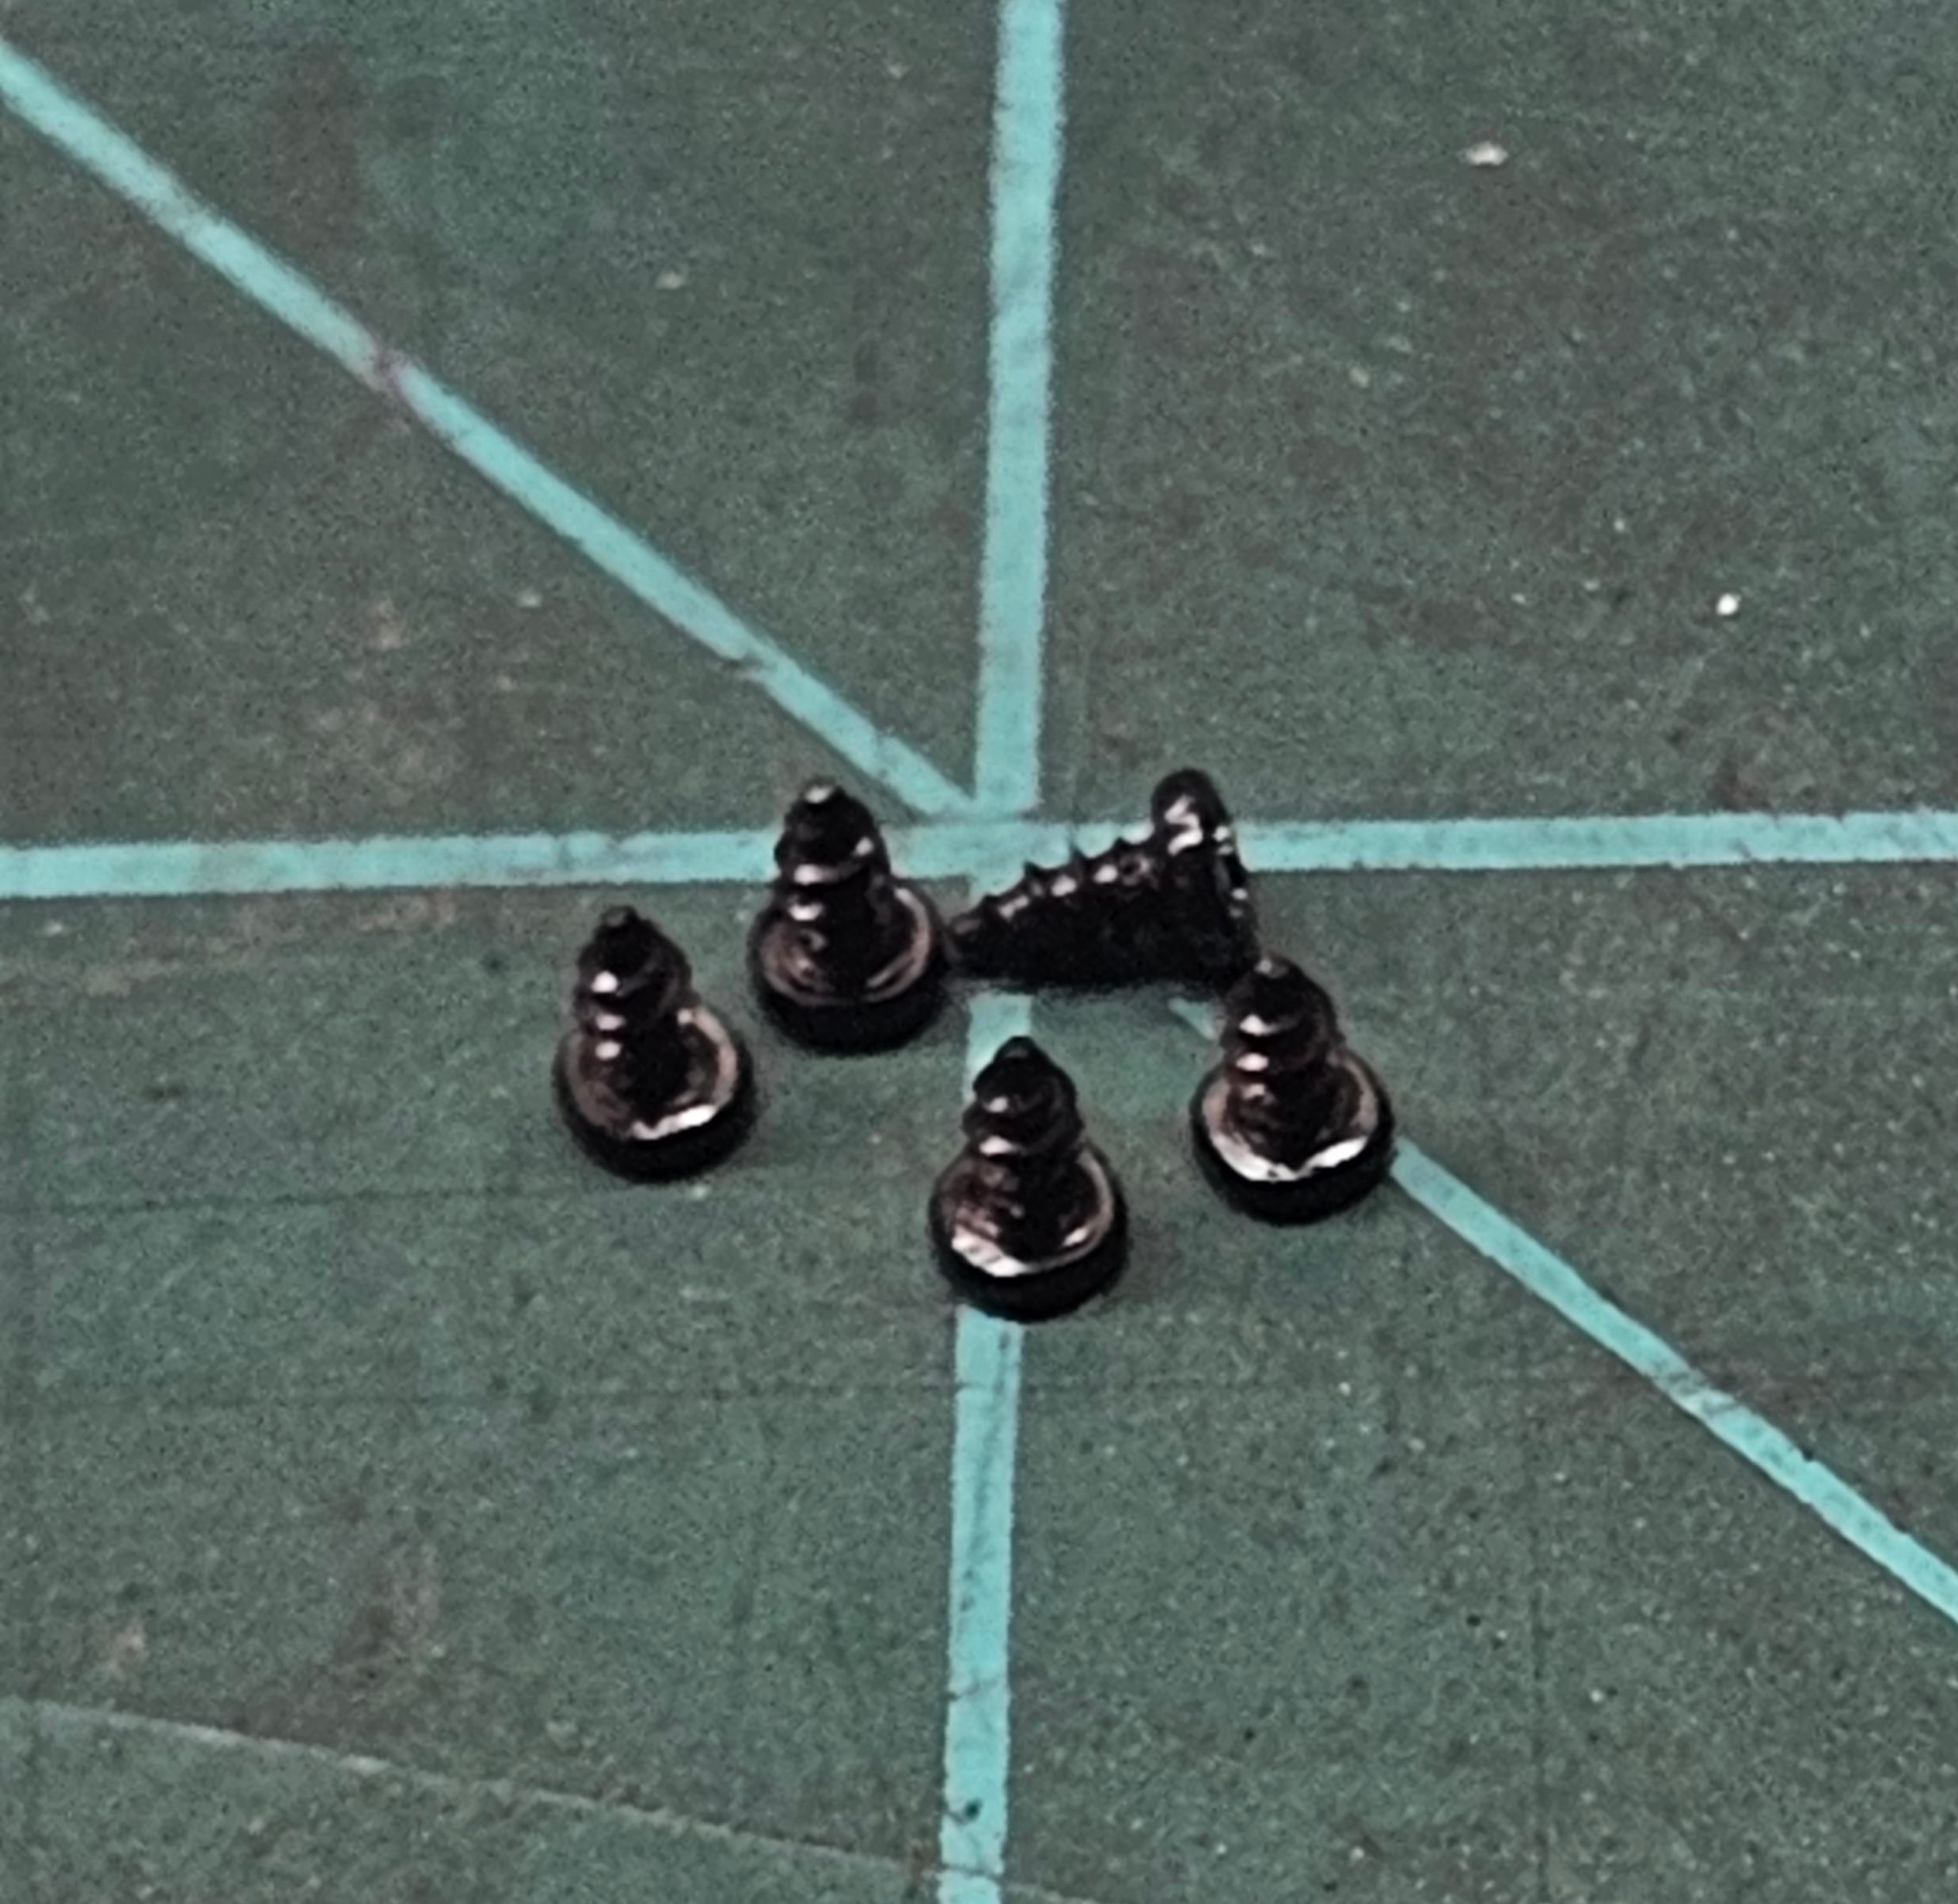
- M3 heat-set inserts pressed using a soldering iron as a press
- Labels on top:
PandRfor buttons; side labels: lightning bolt for power,GPSfor the GPS module
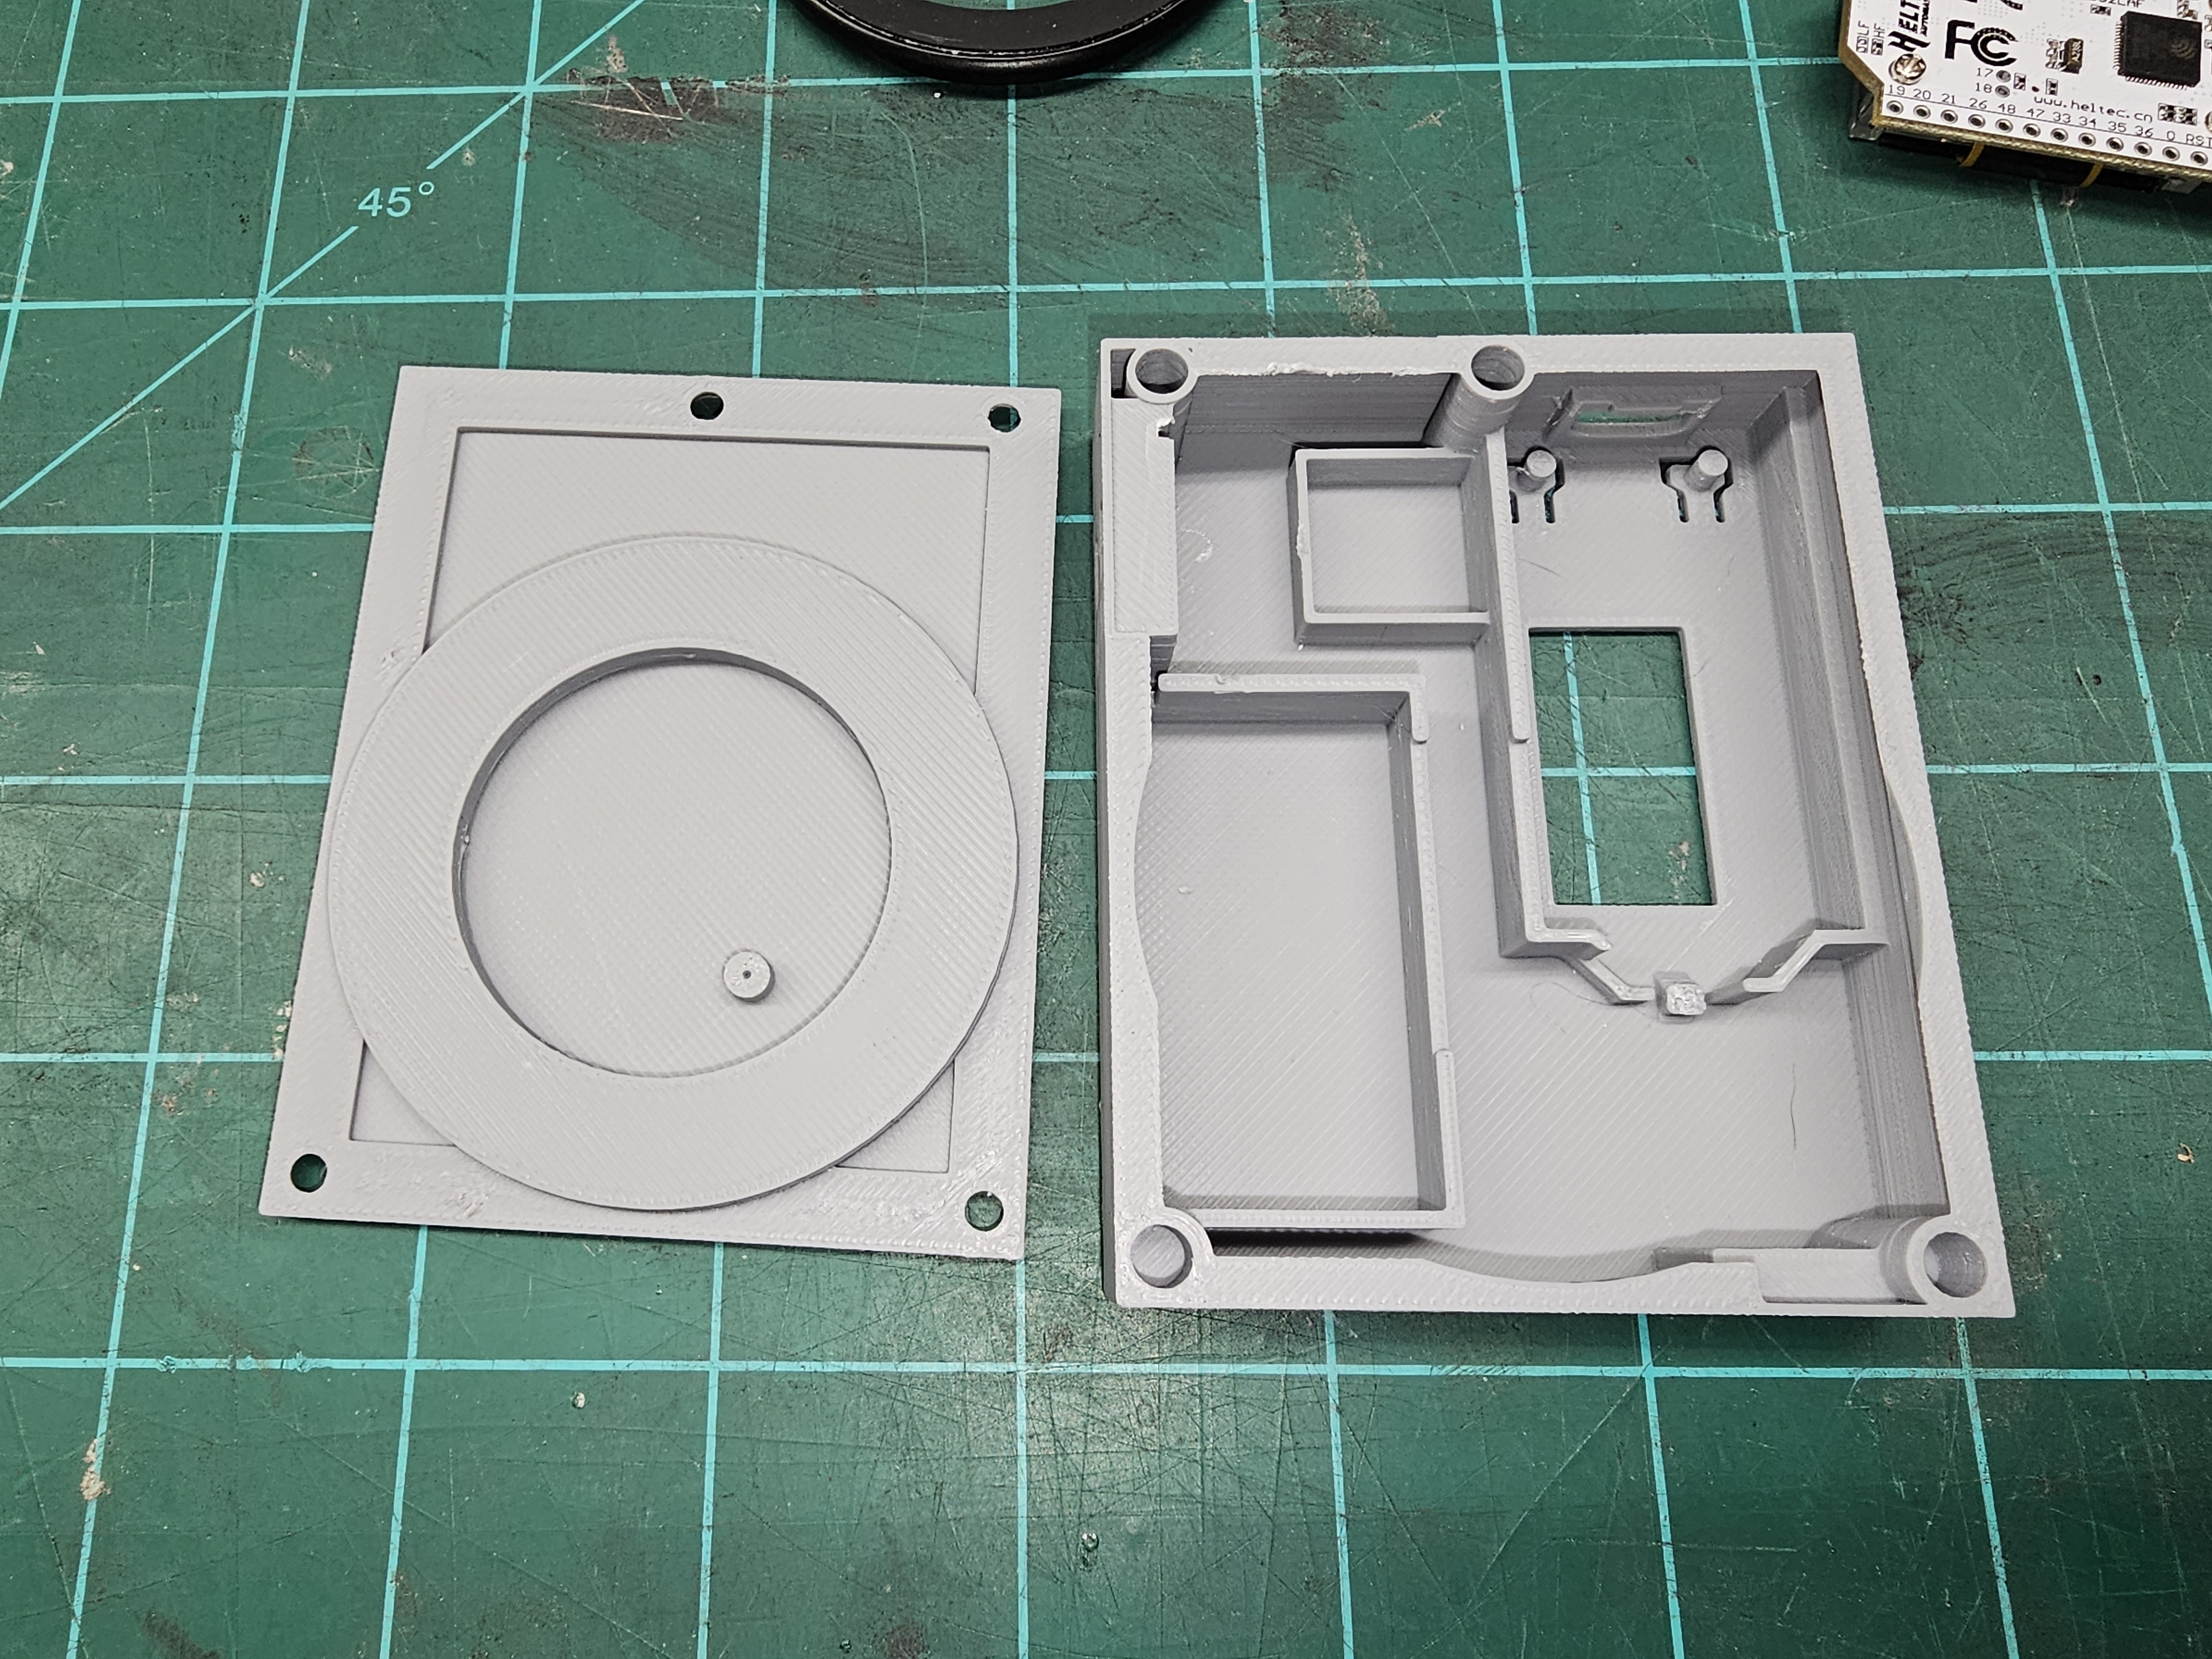
Printed Case
Printed on the Bambu Lab X1 Carbon with Generic Grey PLA. Plan to reprint in a stronger material for field use.
Build
Press inserts into the case with a soldering iron
Splice switches into the battery and GPS module power lines (power only, not ground)
Also at this step: switch for the 3V3 power from the module.
Screw down the switches, ensuring ON orientation is consistent (it gets tight later)
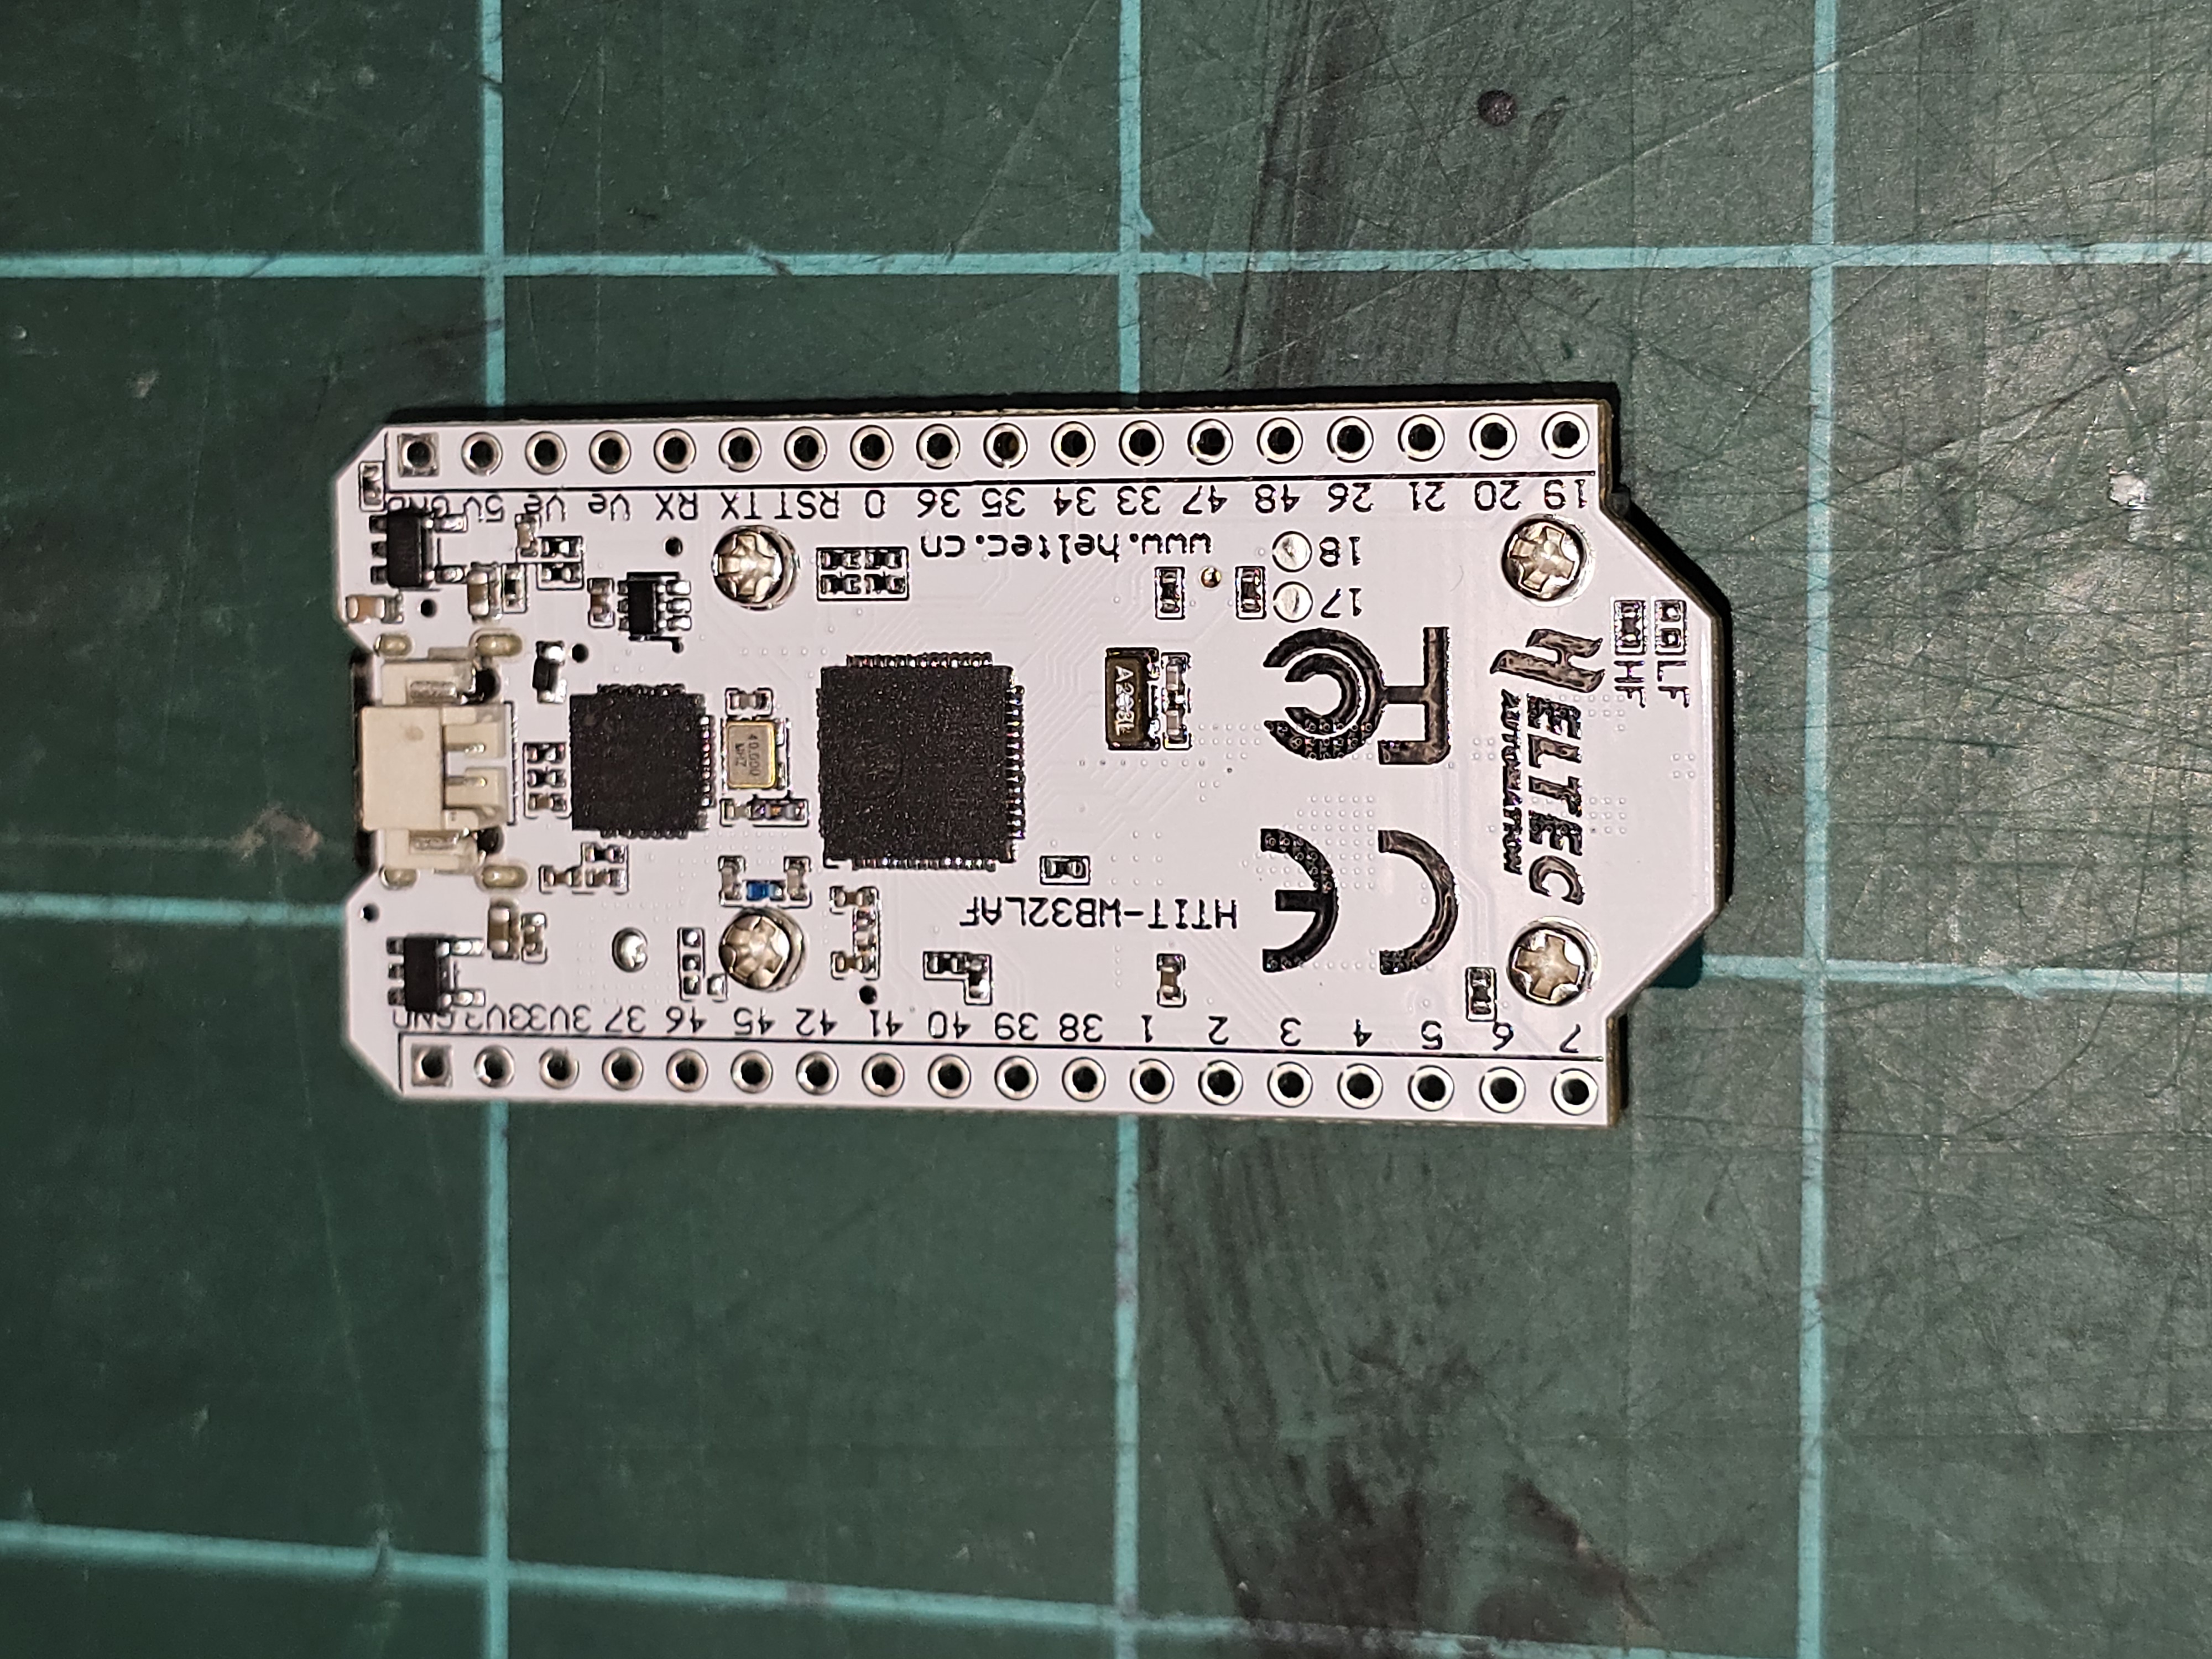
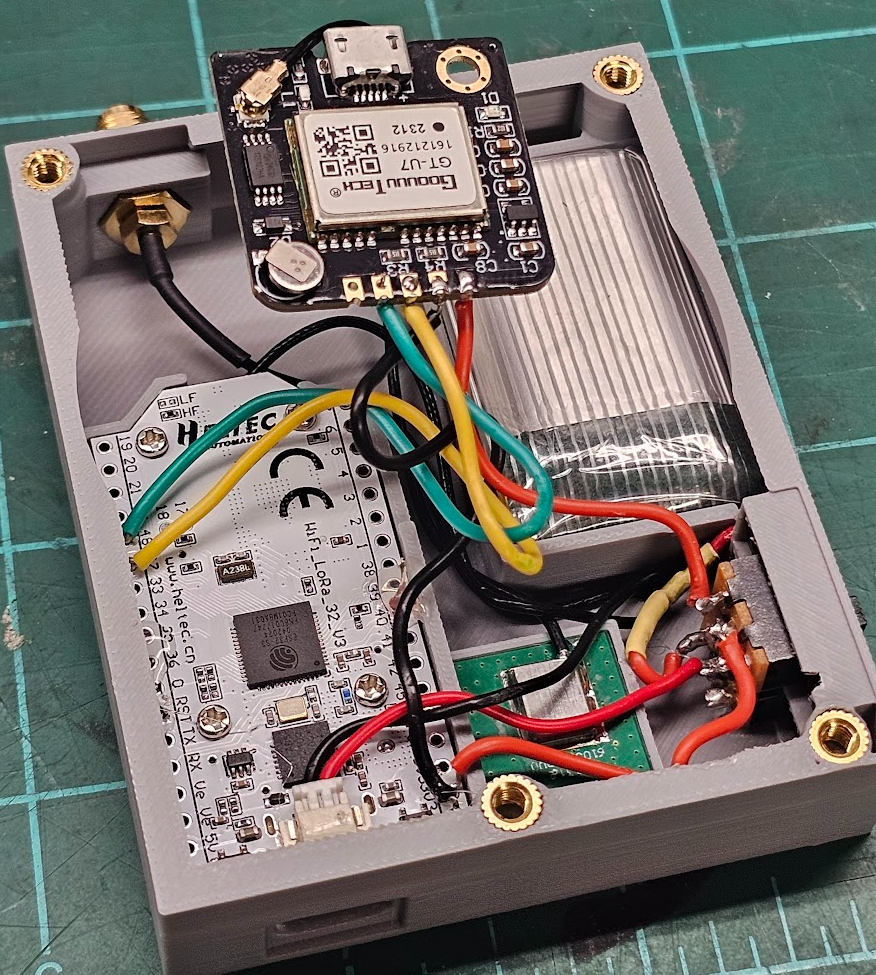
Solder GPS power (
3V3),GND, TX (47), RX (48) to the HeltecPress the Heltec — with antenna wire connected — into place
Secure the Heltec antenna
Solder wires to the GPS module
Hot-glue the GPS antenna in its slot
Final internals:
Screw the GPS module to the bottom of the case inside the magnet ring
Screw the bottom to the top with M3 screws
Glue the magnet into its slot — intentionally not fully recessed so the rubber creates a non-slip connection
Conclusion
The result is a functional Meshtastic node ready for integration with a graphene phone. Not covered here: flashing the Heltec V3 with Meshtastic firmware and disabling Bluetooth/Wi-Fi for improved security — that’s a future post.
This was a valuable learning experience: solving complex design problems, navigating a full design lifecycle, and building something aimed at being usable by others rather than just a one-off prototype.
Constructive feedback always welcome.